I spent two long days photographing Frontiers Health at bcc Berlin, with the main programme, networking and seven breakout sessions running across several floors. After moving through the building with two cameras for about eleven hours each day, I had quite a clear idea of which parts of the venue made my work easier and which ones needed more attention.
This is not really a review of bcc Berlin as an event organiser would write it. It is a practical guide to photographing at bcc Berlin: the light I found, the rooms and angles that worked, the shutter speeds I used around the screens, and the lenses I would bring again. If you want to see the finished coverage rather than the technical side, I have a separate Frontiers Health conference photography case study.
My overall impression of bcc Berlin
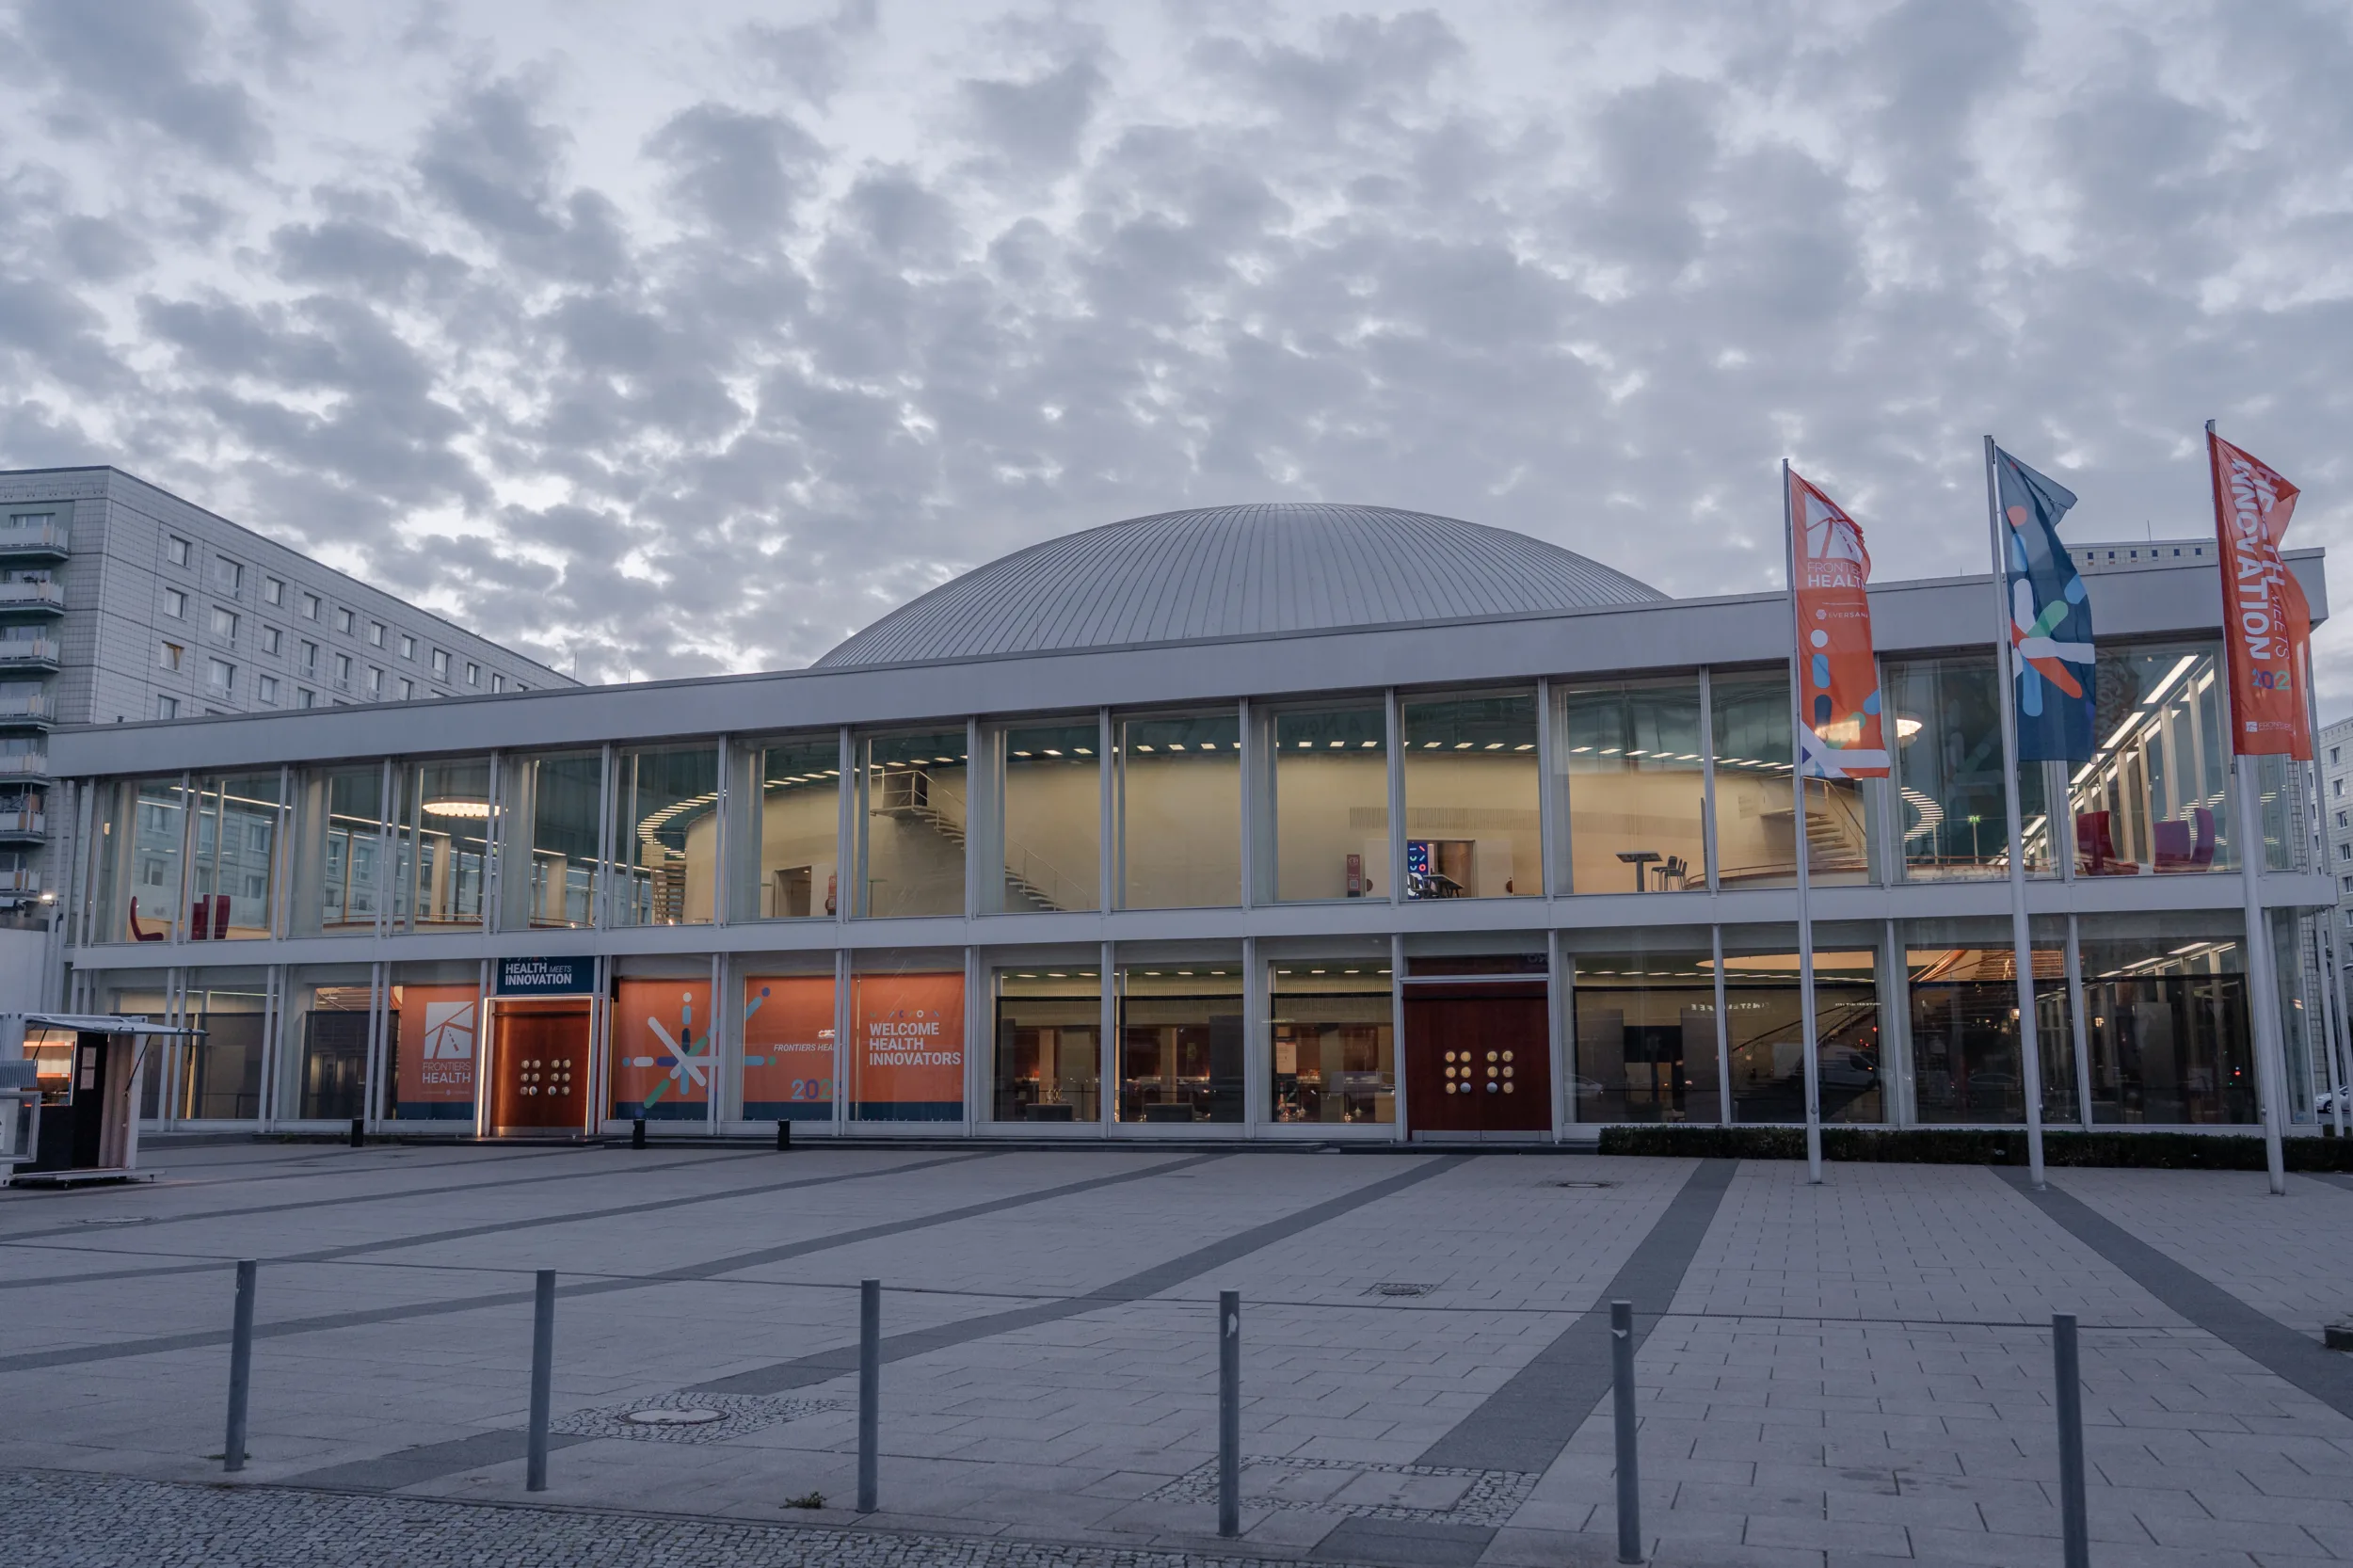
The building is large and beautiful, and the glass front brings a lot of daylight into some of the public areas. I enjoyed working there. At the same time, the light changes much more than the open architecture might suggest. You can walk from a bright corridor into a breakout room with a completely different colour in less than a minute, then return to the main hall where the lighting is relatively neutral again.
So I would not approach the whole venue with one fixed white balance. The useful setup depends quite heavily on the floor and on whether you are photographing networking, a small session or the main stage.
Where I found the best light for networking
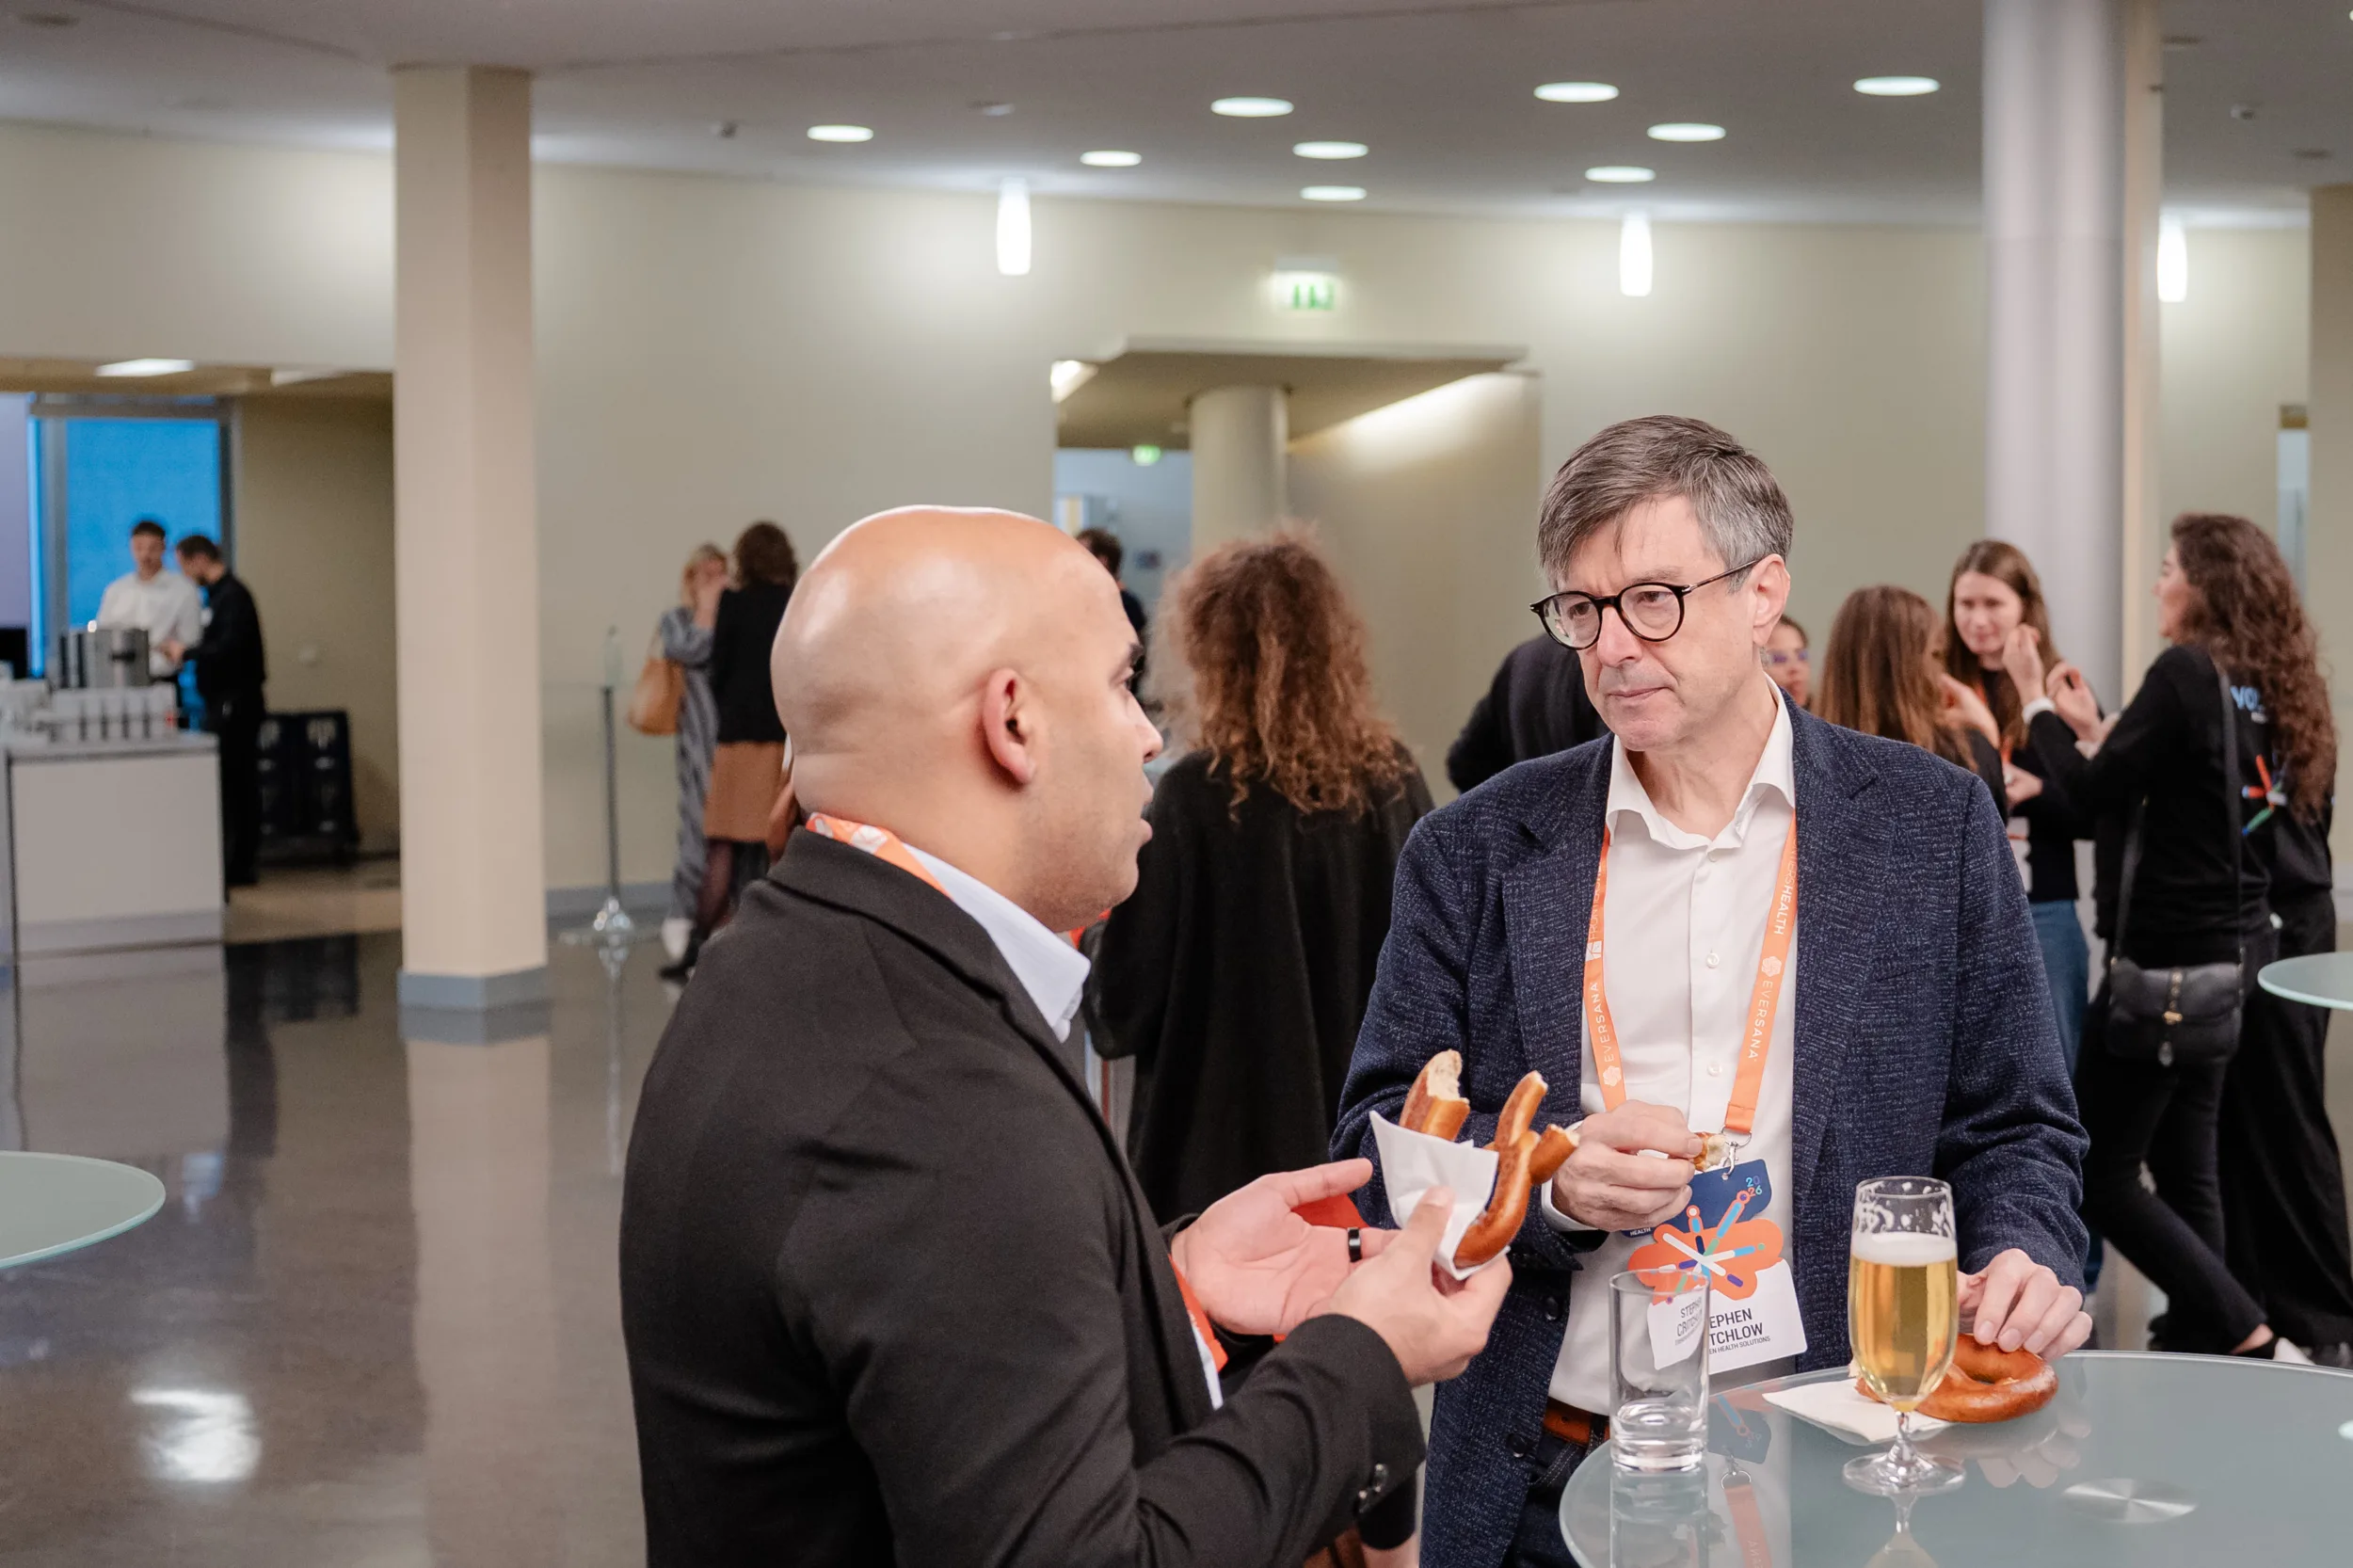
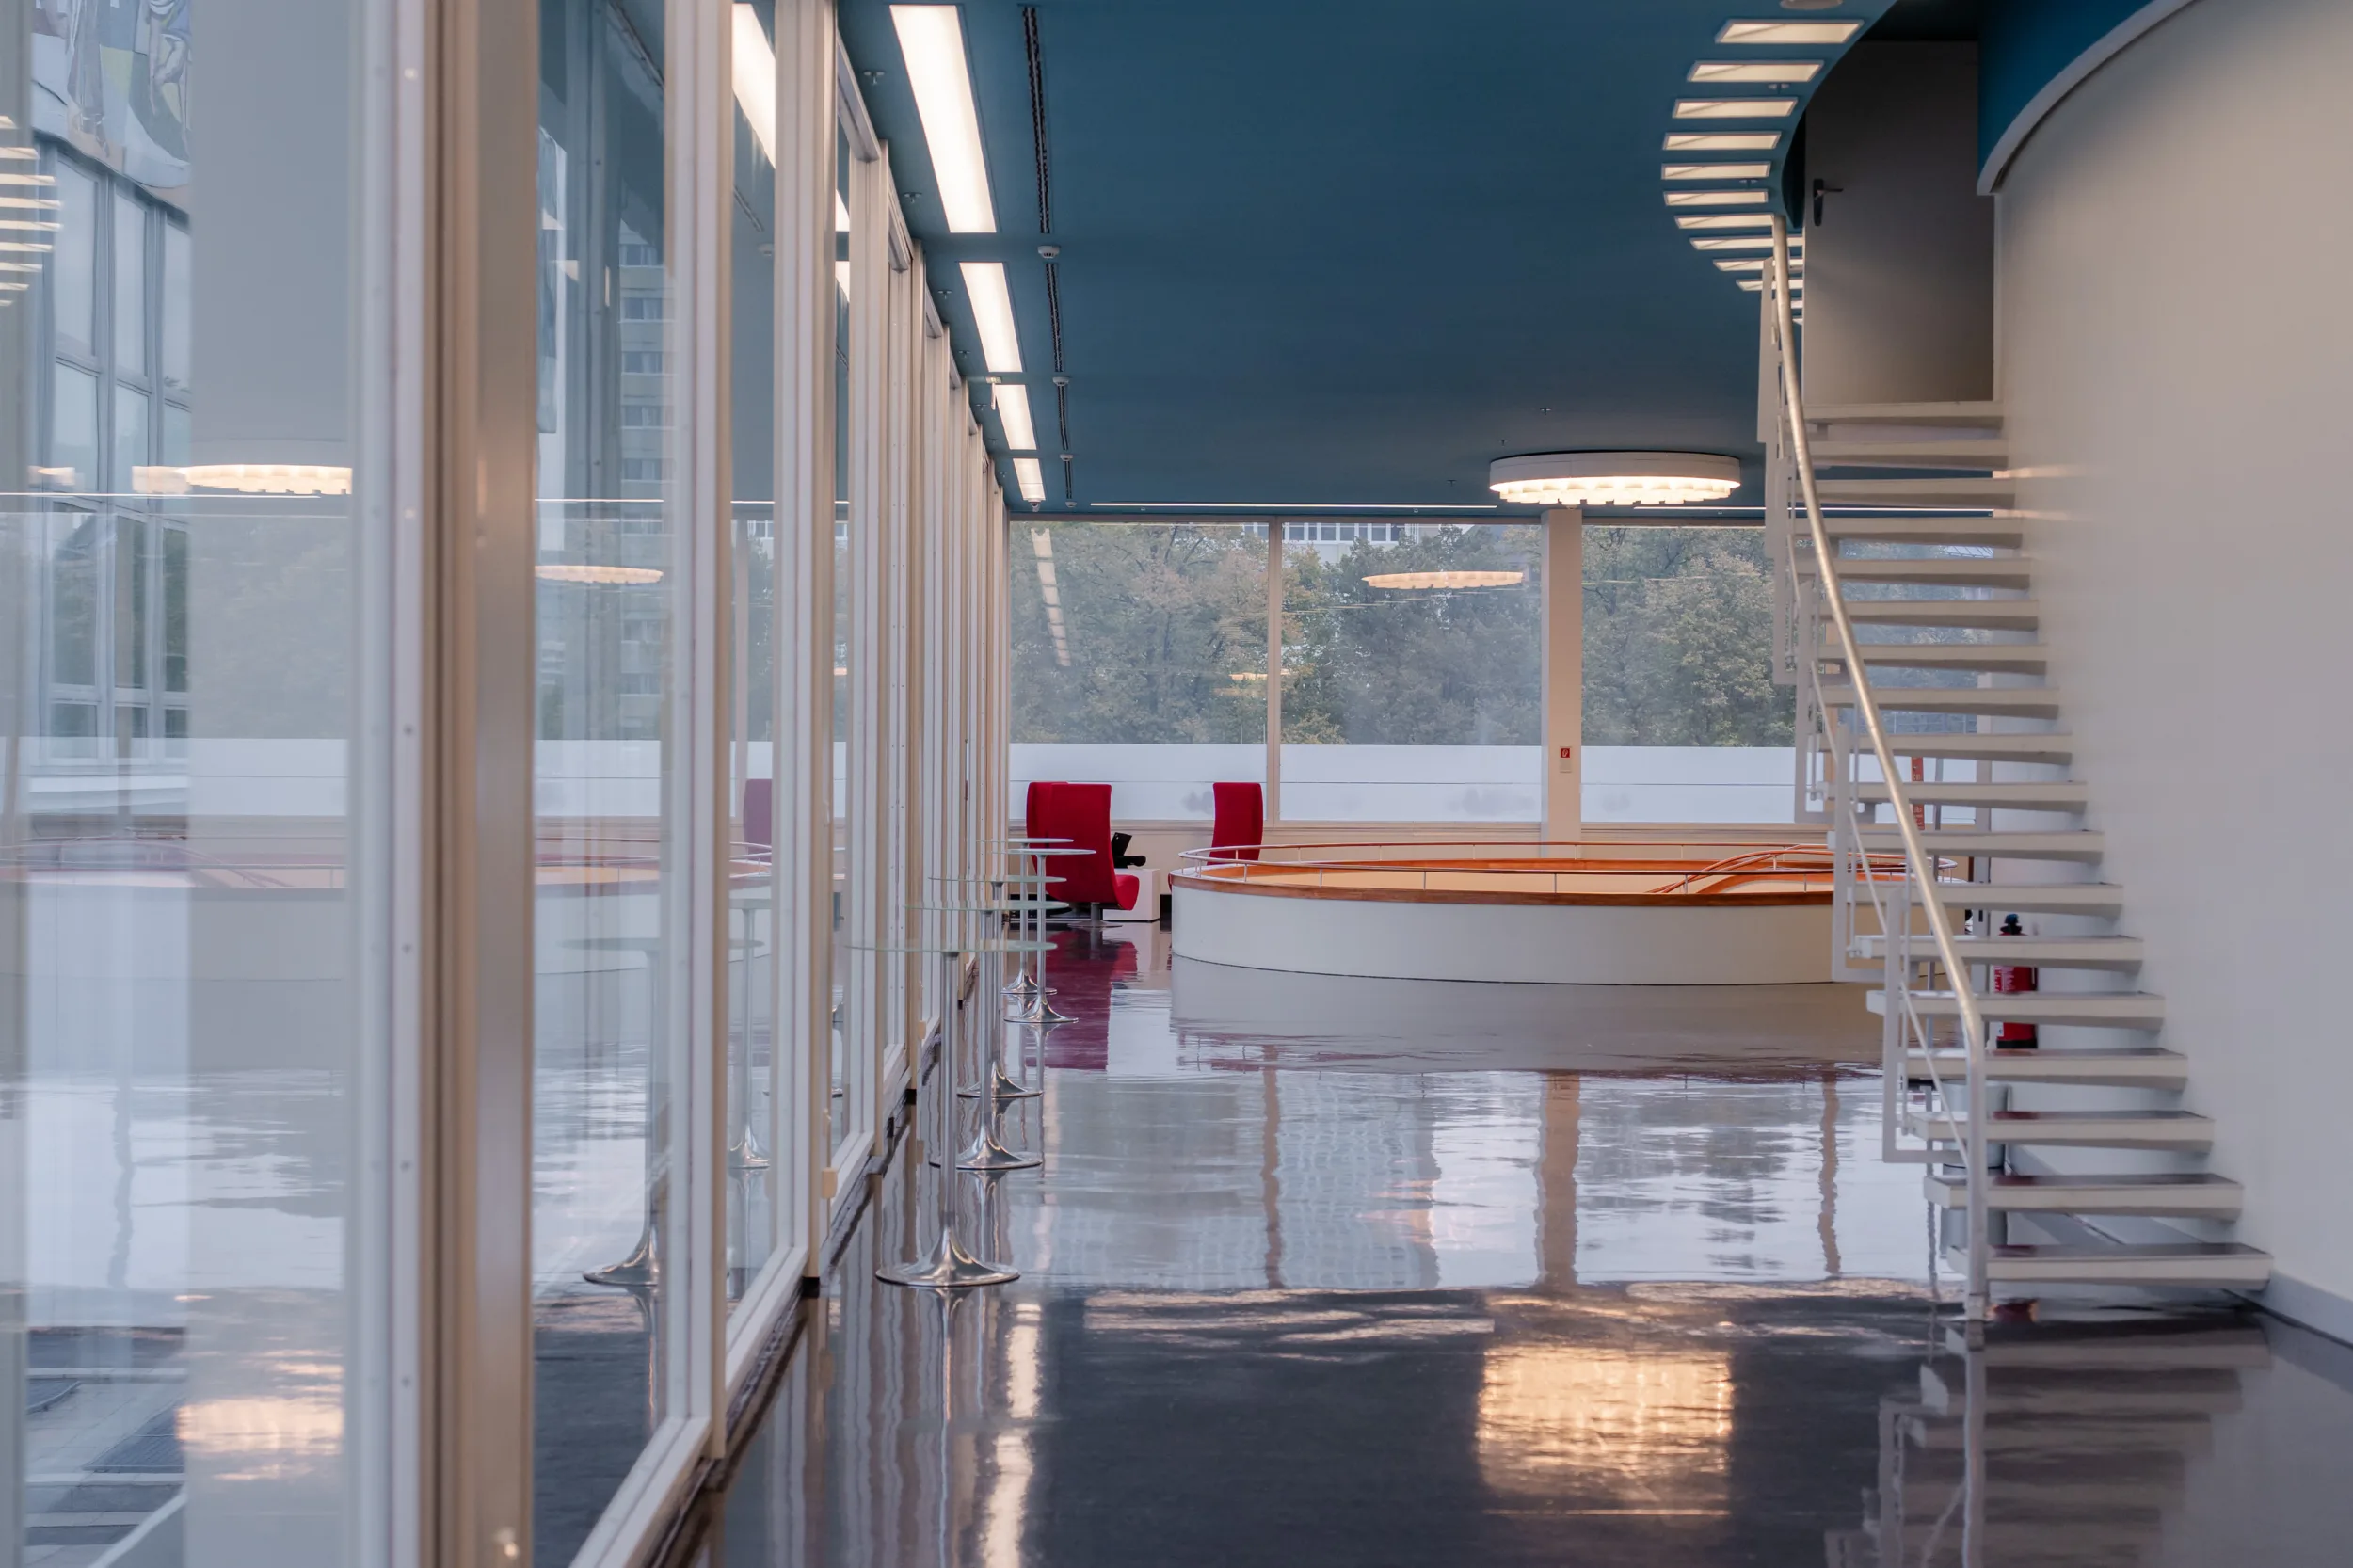
On level A, around the middle of the ground floor and closer to the restaurant or coffee-break area, there are very large lamps on the ceiling. I liked the light from them more than I expected. It is soft enough to photograph people talking without making every face look harsh, especially when I chose an angle where the people were turned towards the lamps.
The light is a little too yellow for my taste, and obviously it is not the same as bringing a proper portrait setup. But anyways, usually, you cannot start putting professional lights into the middle of a busy conference break anyway. So these lights gave me pleasant and quite flattering portraits of people during networking.
The area on level A closer to the entrance and the large front windows was more difficult. I did photograph there, but the results were not as consistent because I had to work from a fairly specific direction. From the wrong side, there was simply too much backlight (maybe its specifically for this event where there were posters covering most of the windows, just enough for it to be dark but not enough to block the backlight). It is usable, but I would not choose it as my first place for networking photographs.
Level C was my favourite place for natural light
One floor above, on level C, the situation was almost the opposite. A lot more natural light reached the corridors, and people naturally spread around that floor between sessions. Close to the windows I could make clean networking and lifestyle photographs without fighting the backlight in the same way.
If I had to take a few quick portraits of guests at the venue, this is where I would start. It would also be my preferred floor for a small headshot studio, if the event plan allowed one. The daylight already gives you a good base, and there is enough activity nearby for the setup to feel connected to the conference rather than hidden in a separate room.
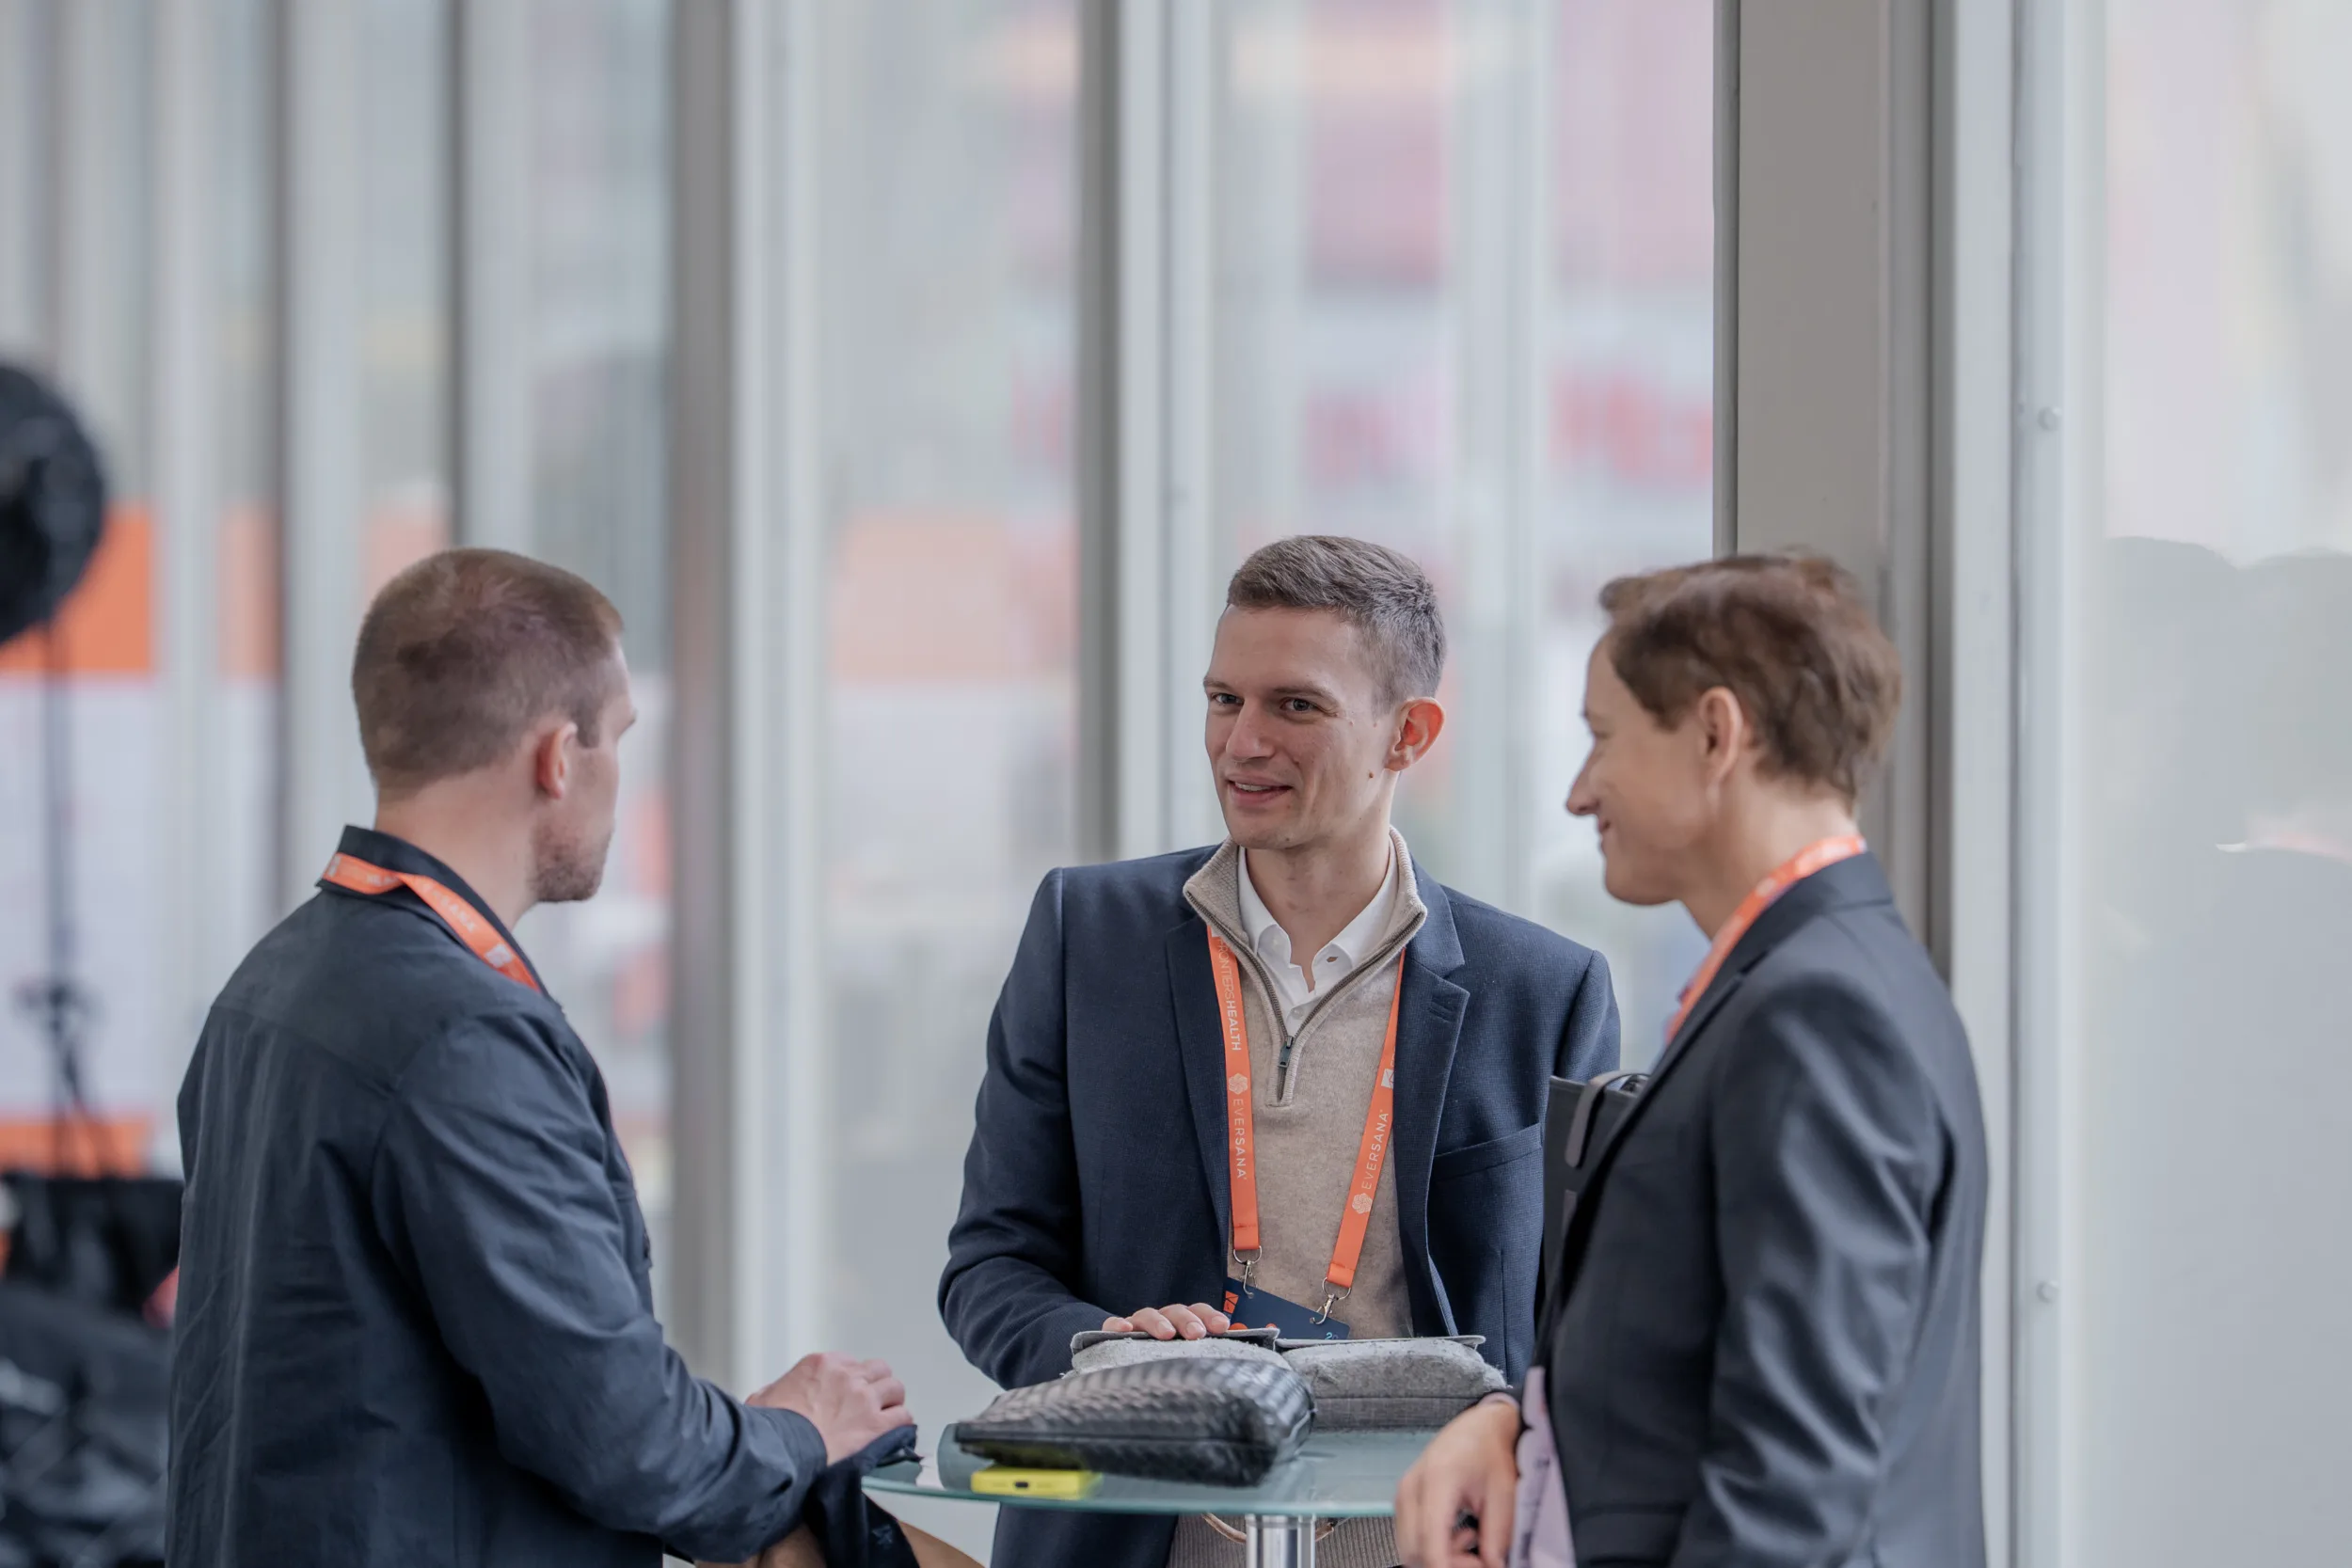
White balance changes from room to room
I did not find much reason to lock one white balance for the whole venue. I had to move between rooms too frequently, and the light was not consistent enough for one setting to solve the problem.
During networking I was often working either with daylight or with the large warm ceiling lamps near the coffee-break area. On the main stage, the light was neutral enough that automatic white balance usually made a sensible decision, apart from the moments when the production added stronger coloured light.
The smaller breakout rooms were the more difficult part. Some had a slightly different hue from the others. I used one of the more neutral rooms as a reference, then adjusted the photographs from the other rooms towards it in post-production. This becomes slower when you are covering several sessions alone, because the files from one room are not sitting in a neat uninterrupted group. You move from room to room, return later, and the different lighting is mixed through the same timeline.
We also photographed with two different Sony A7 bodies, and the cameras did not produce exactly the same colour. That was another small difference I had to account for when I brought the final gallery together. It was manageable, but I would definitely try to adjust wb in camera if the schedule was lighter( in my case I had to cover 4 rooms simultaneously with quite a dense program).
Screens, flicker and the shutter-speed compromise
The screens were probably the most annoying technical limitation. In my case, a shutter speed of around 1/50 second worked without visible flicker or bands from the screens. The venue lighting itself was not the main problem; the screens were.
Of course, 1/50 is not ideal for every conference photograph. Speakers gesture, walk across the stage and turn quickly. When I needed to freeze more movement, I moved towards 1/160 or 1/200 second and checked the result carefully. On the main stage I could go faster whenever the screen was outside my frame. For a quieter portrait of a speaker with the screen visible, I returned to 1/50.
I would test this at the beginning of the event instead of assuming that the setting which worked in another venue will also work here. Photograph the screen at several shutter speeds, zoom in and look for darker bands. It takes a minute and can save a very unpleasant surprise later (Especially if the program is dense and you have already covered a speaker or two and then noticed the banding).
Which lenses worked in the breakout rooms
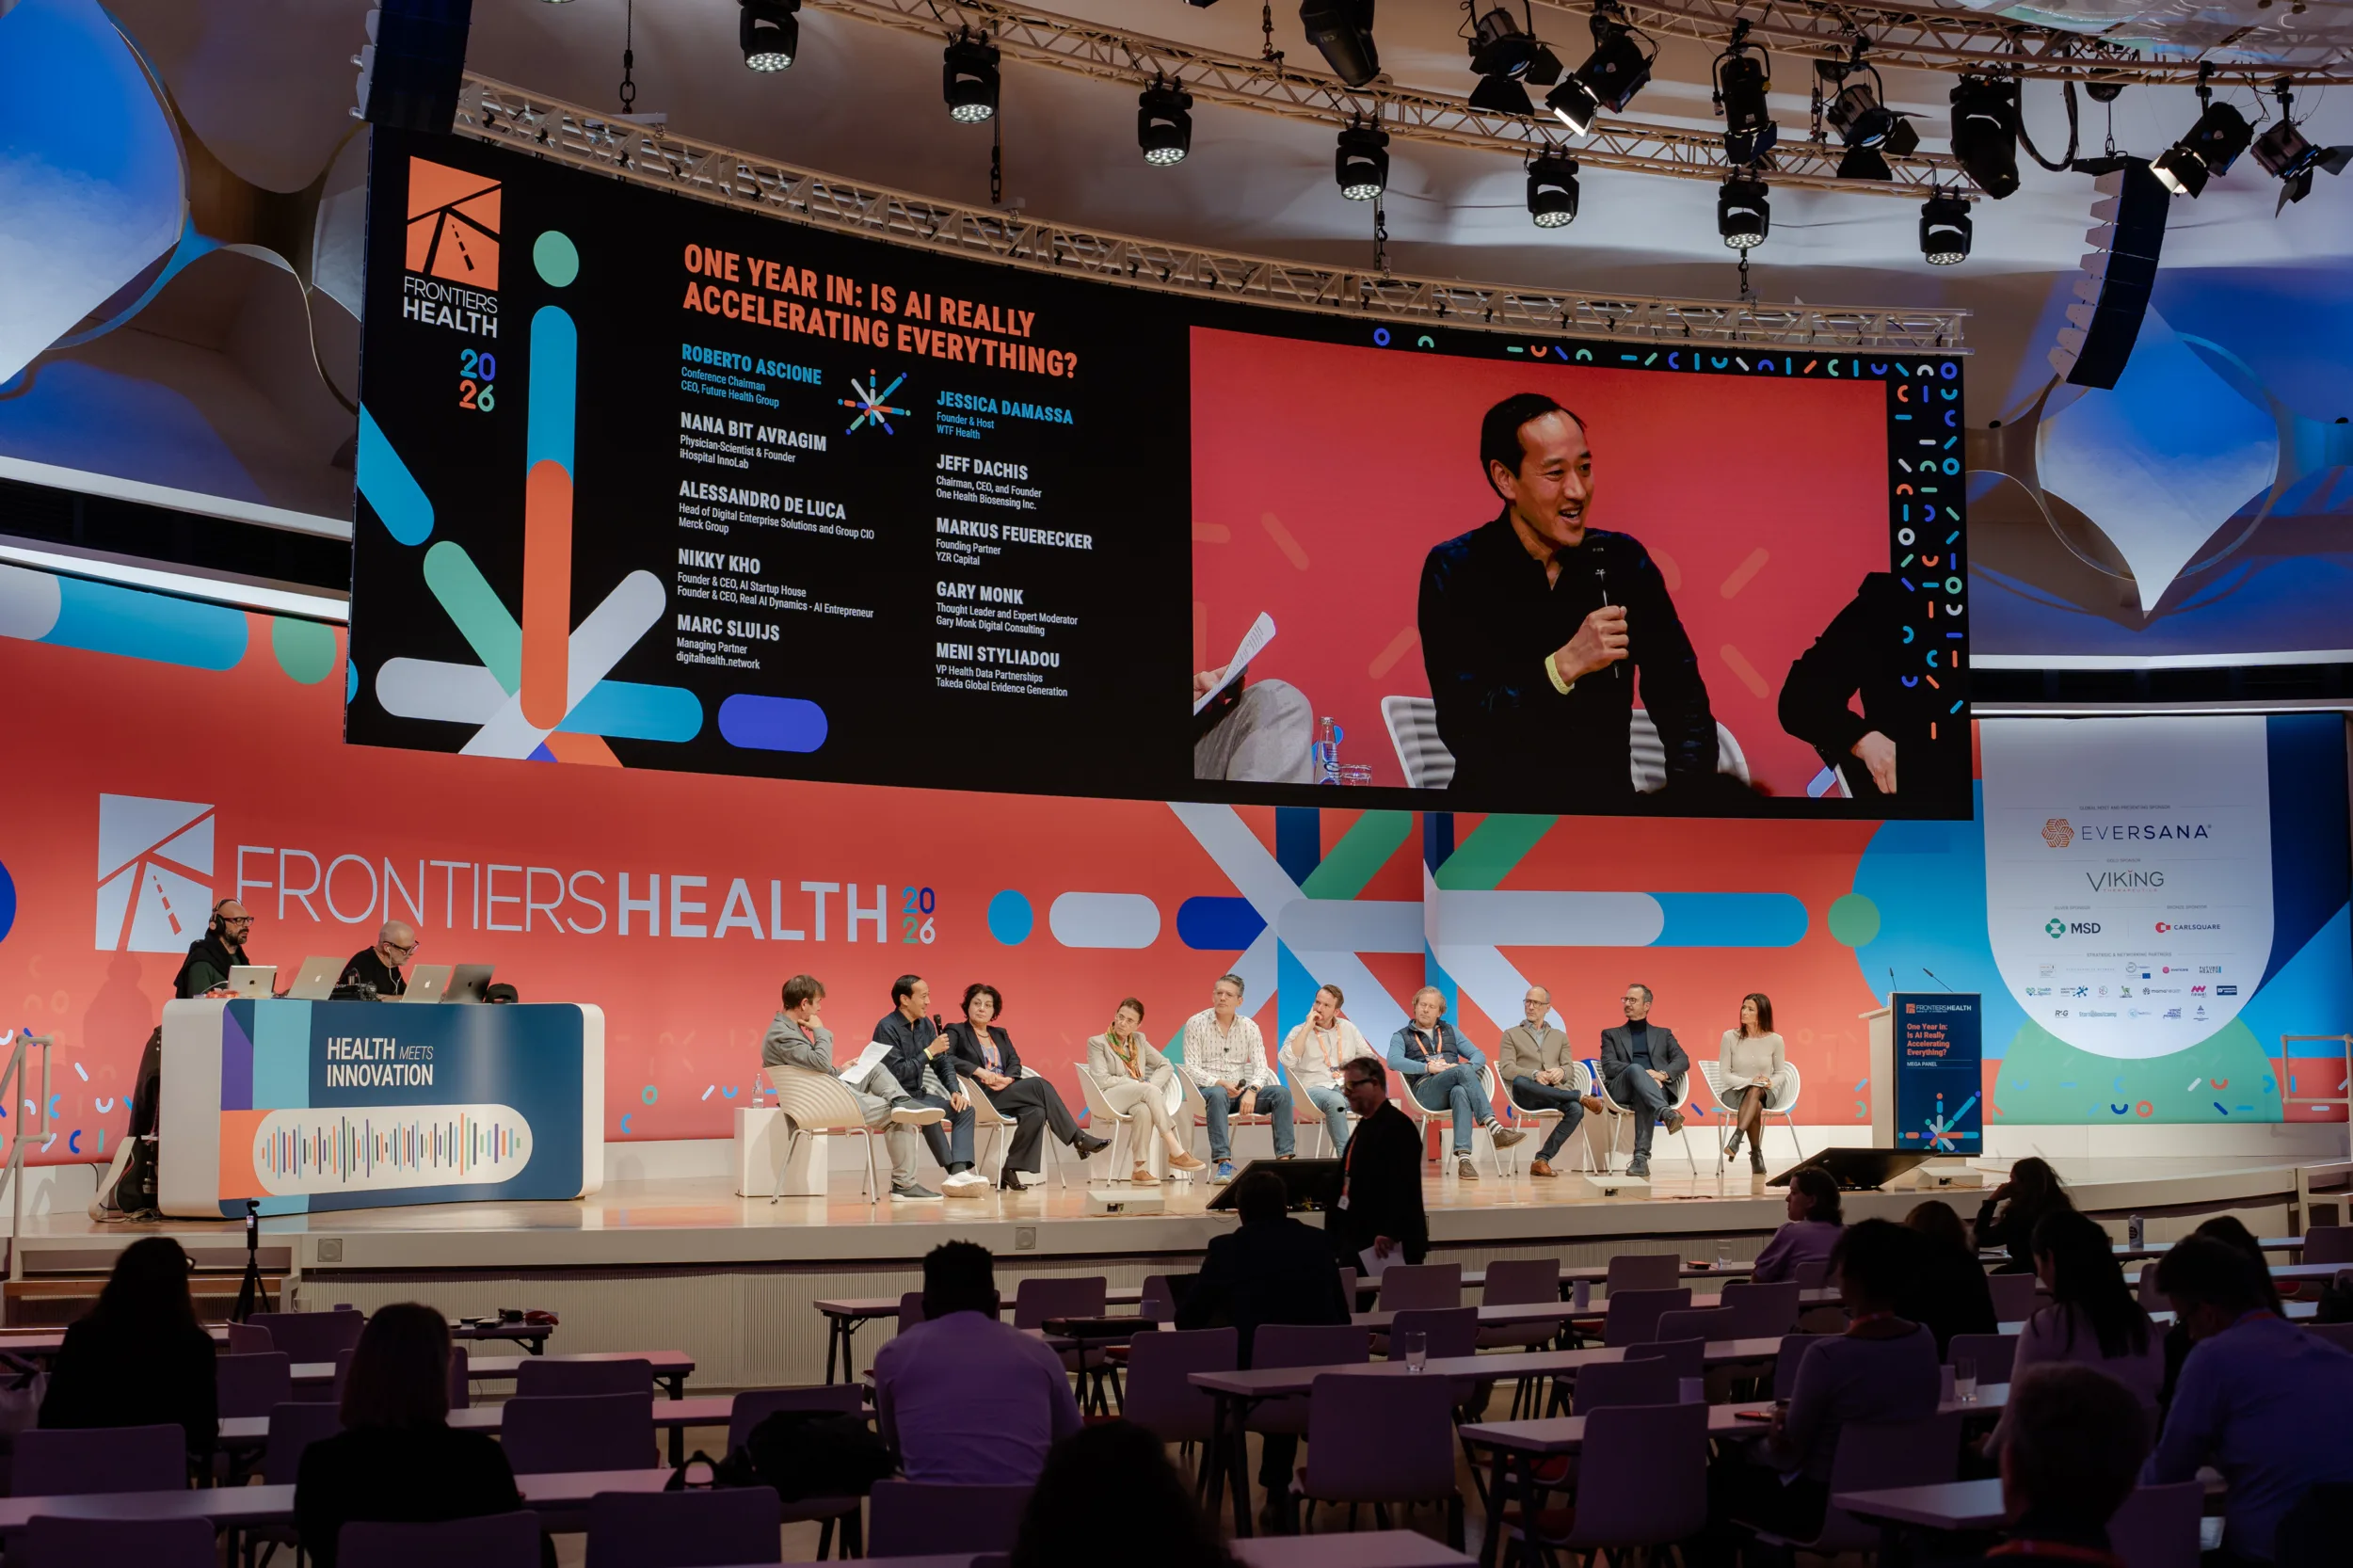
The breakout rooms on level B gave me enough space more often than I expected. A 50 mm lens could work for many photographs, and something around 70 or 75 mm was often enough for a clean view of a speaker.
I needed a longer focal length for the more layered hero shots: audience members in the foreground, with the speaker still large enough to remain the subject of the frame. For those photographs I went beyond 75 mm and up to 135mm in room 5, in room 6 nothing more than 50mm was needed as its small and in our setup we had a room 7-8 where it was again a bigger room, where a range or 24-70 and maybe 1 telephoto lens will do.
Level A needed a longer lens
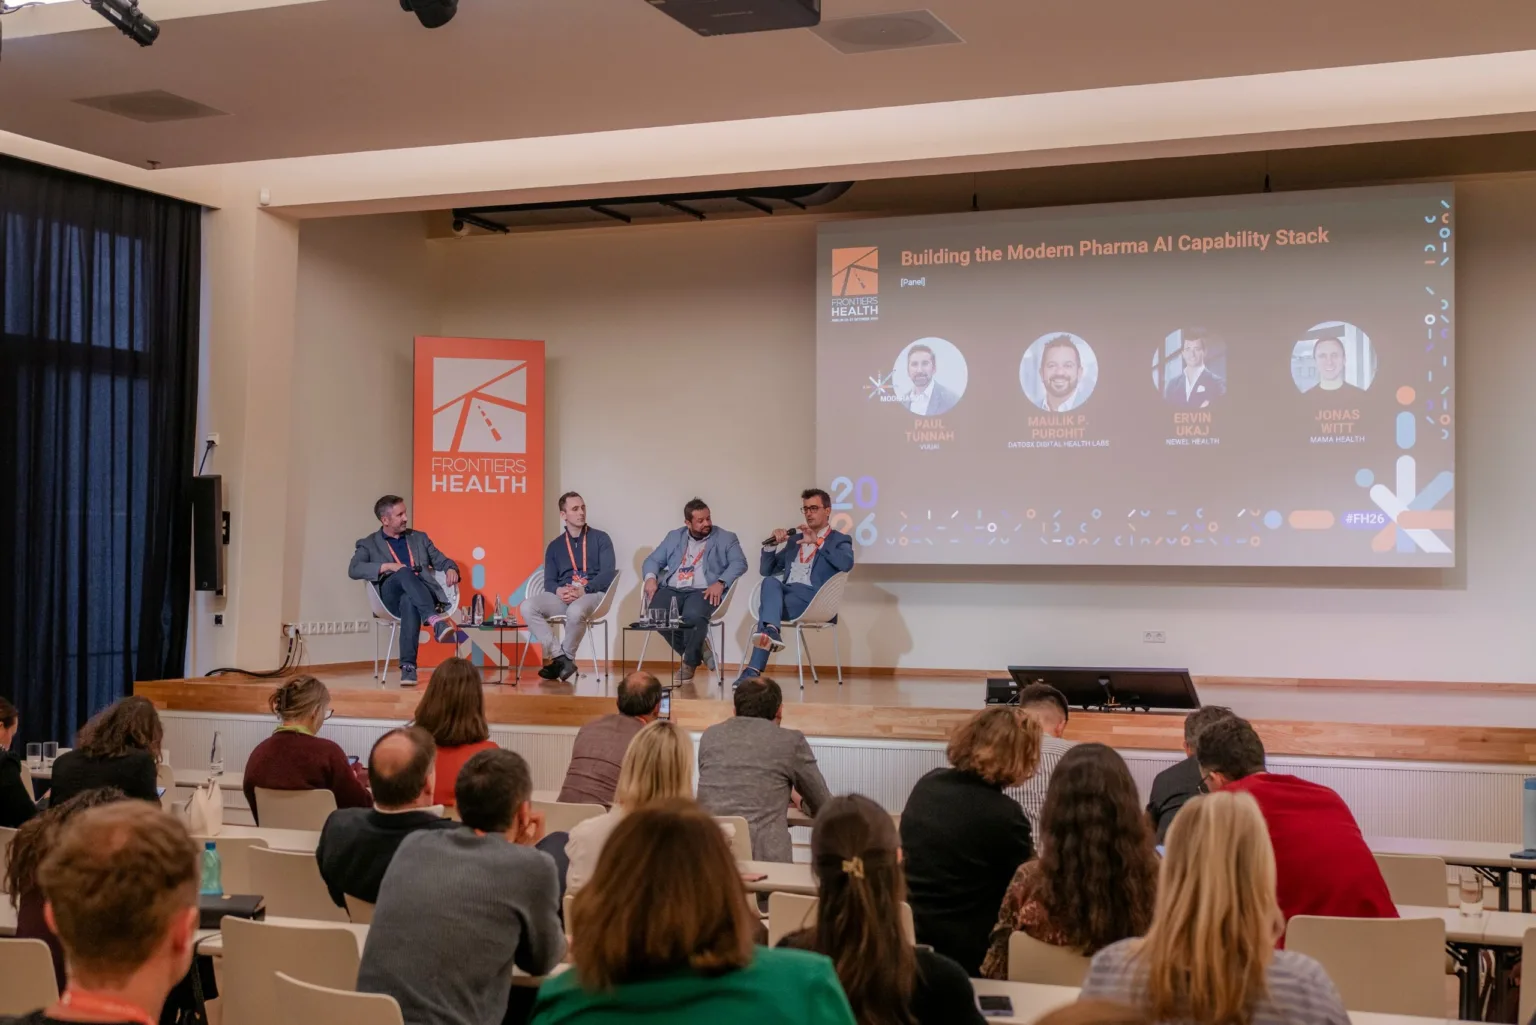
The rooms on level A, on the underground floor, were less convenient for me. A column blocked part of the view in each room, and in some sessions the audience seating ran close to the wall. I could not always walk to the other side of the stage to choose another angle.
For those rooms I would recommend bringing something longer than 100 mm. The rooms were still possible to cover, but I had to accept that the choice of angles was narrower.
Lenses for the main hall
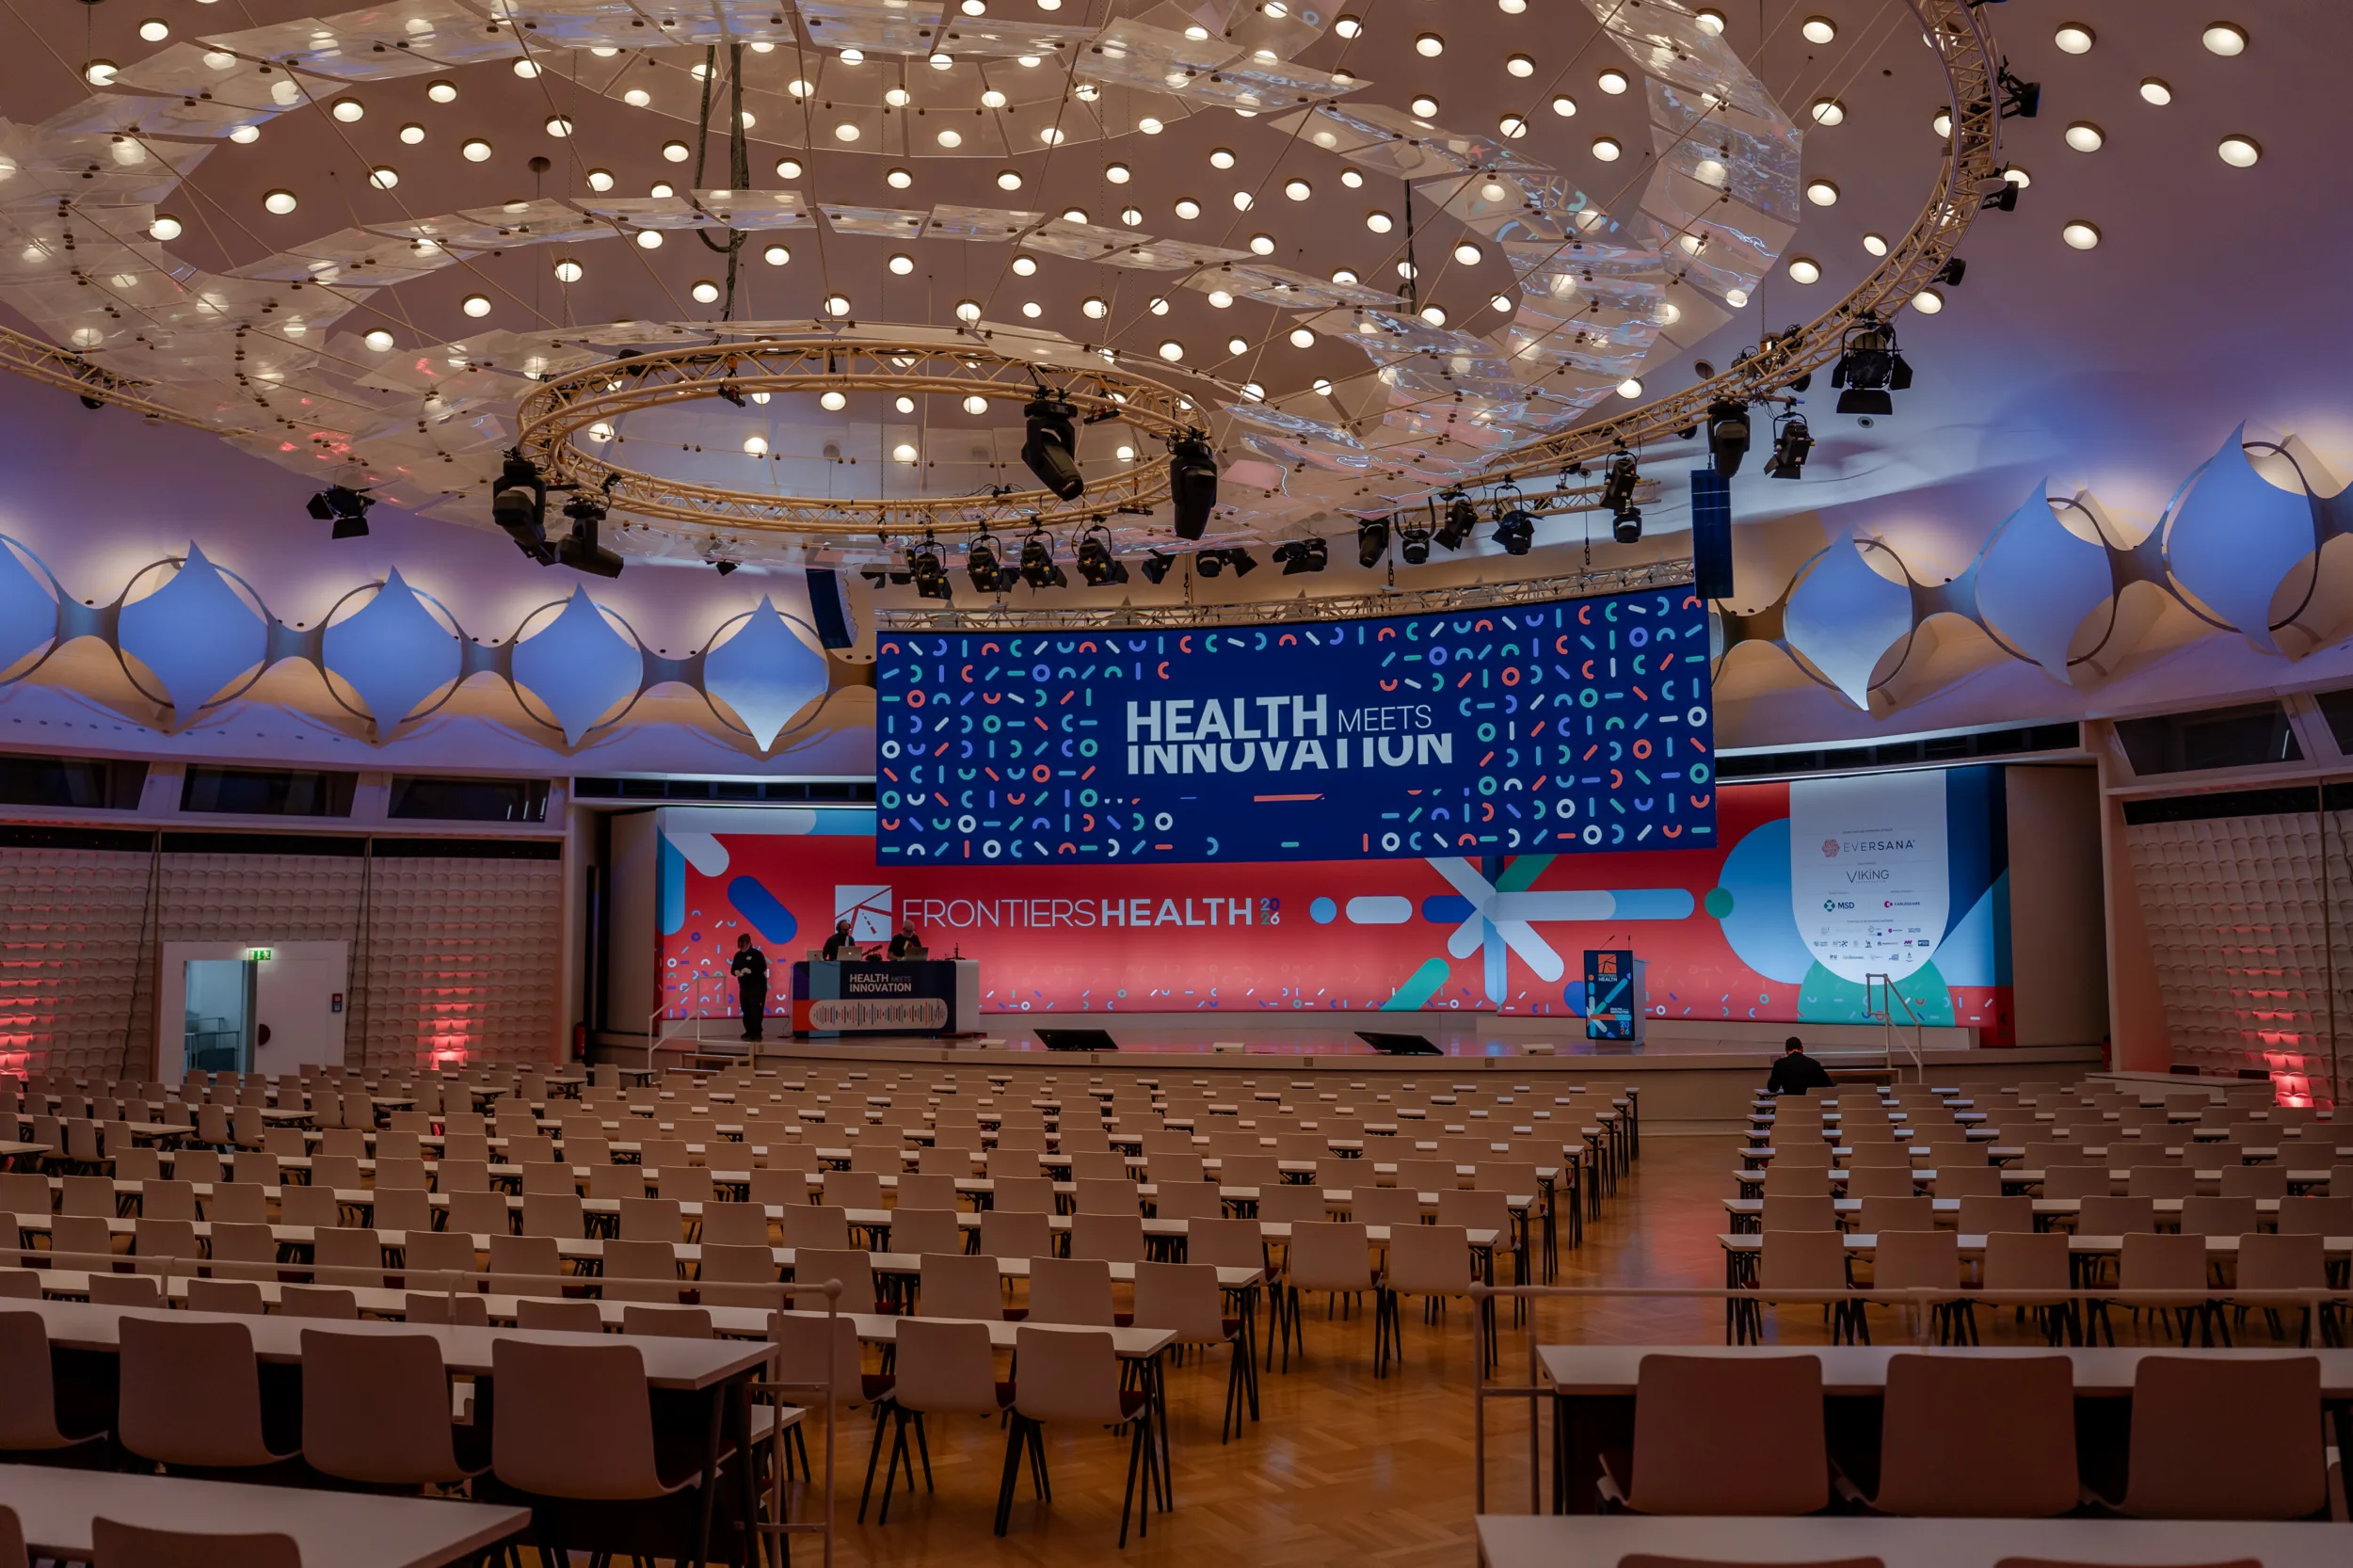
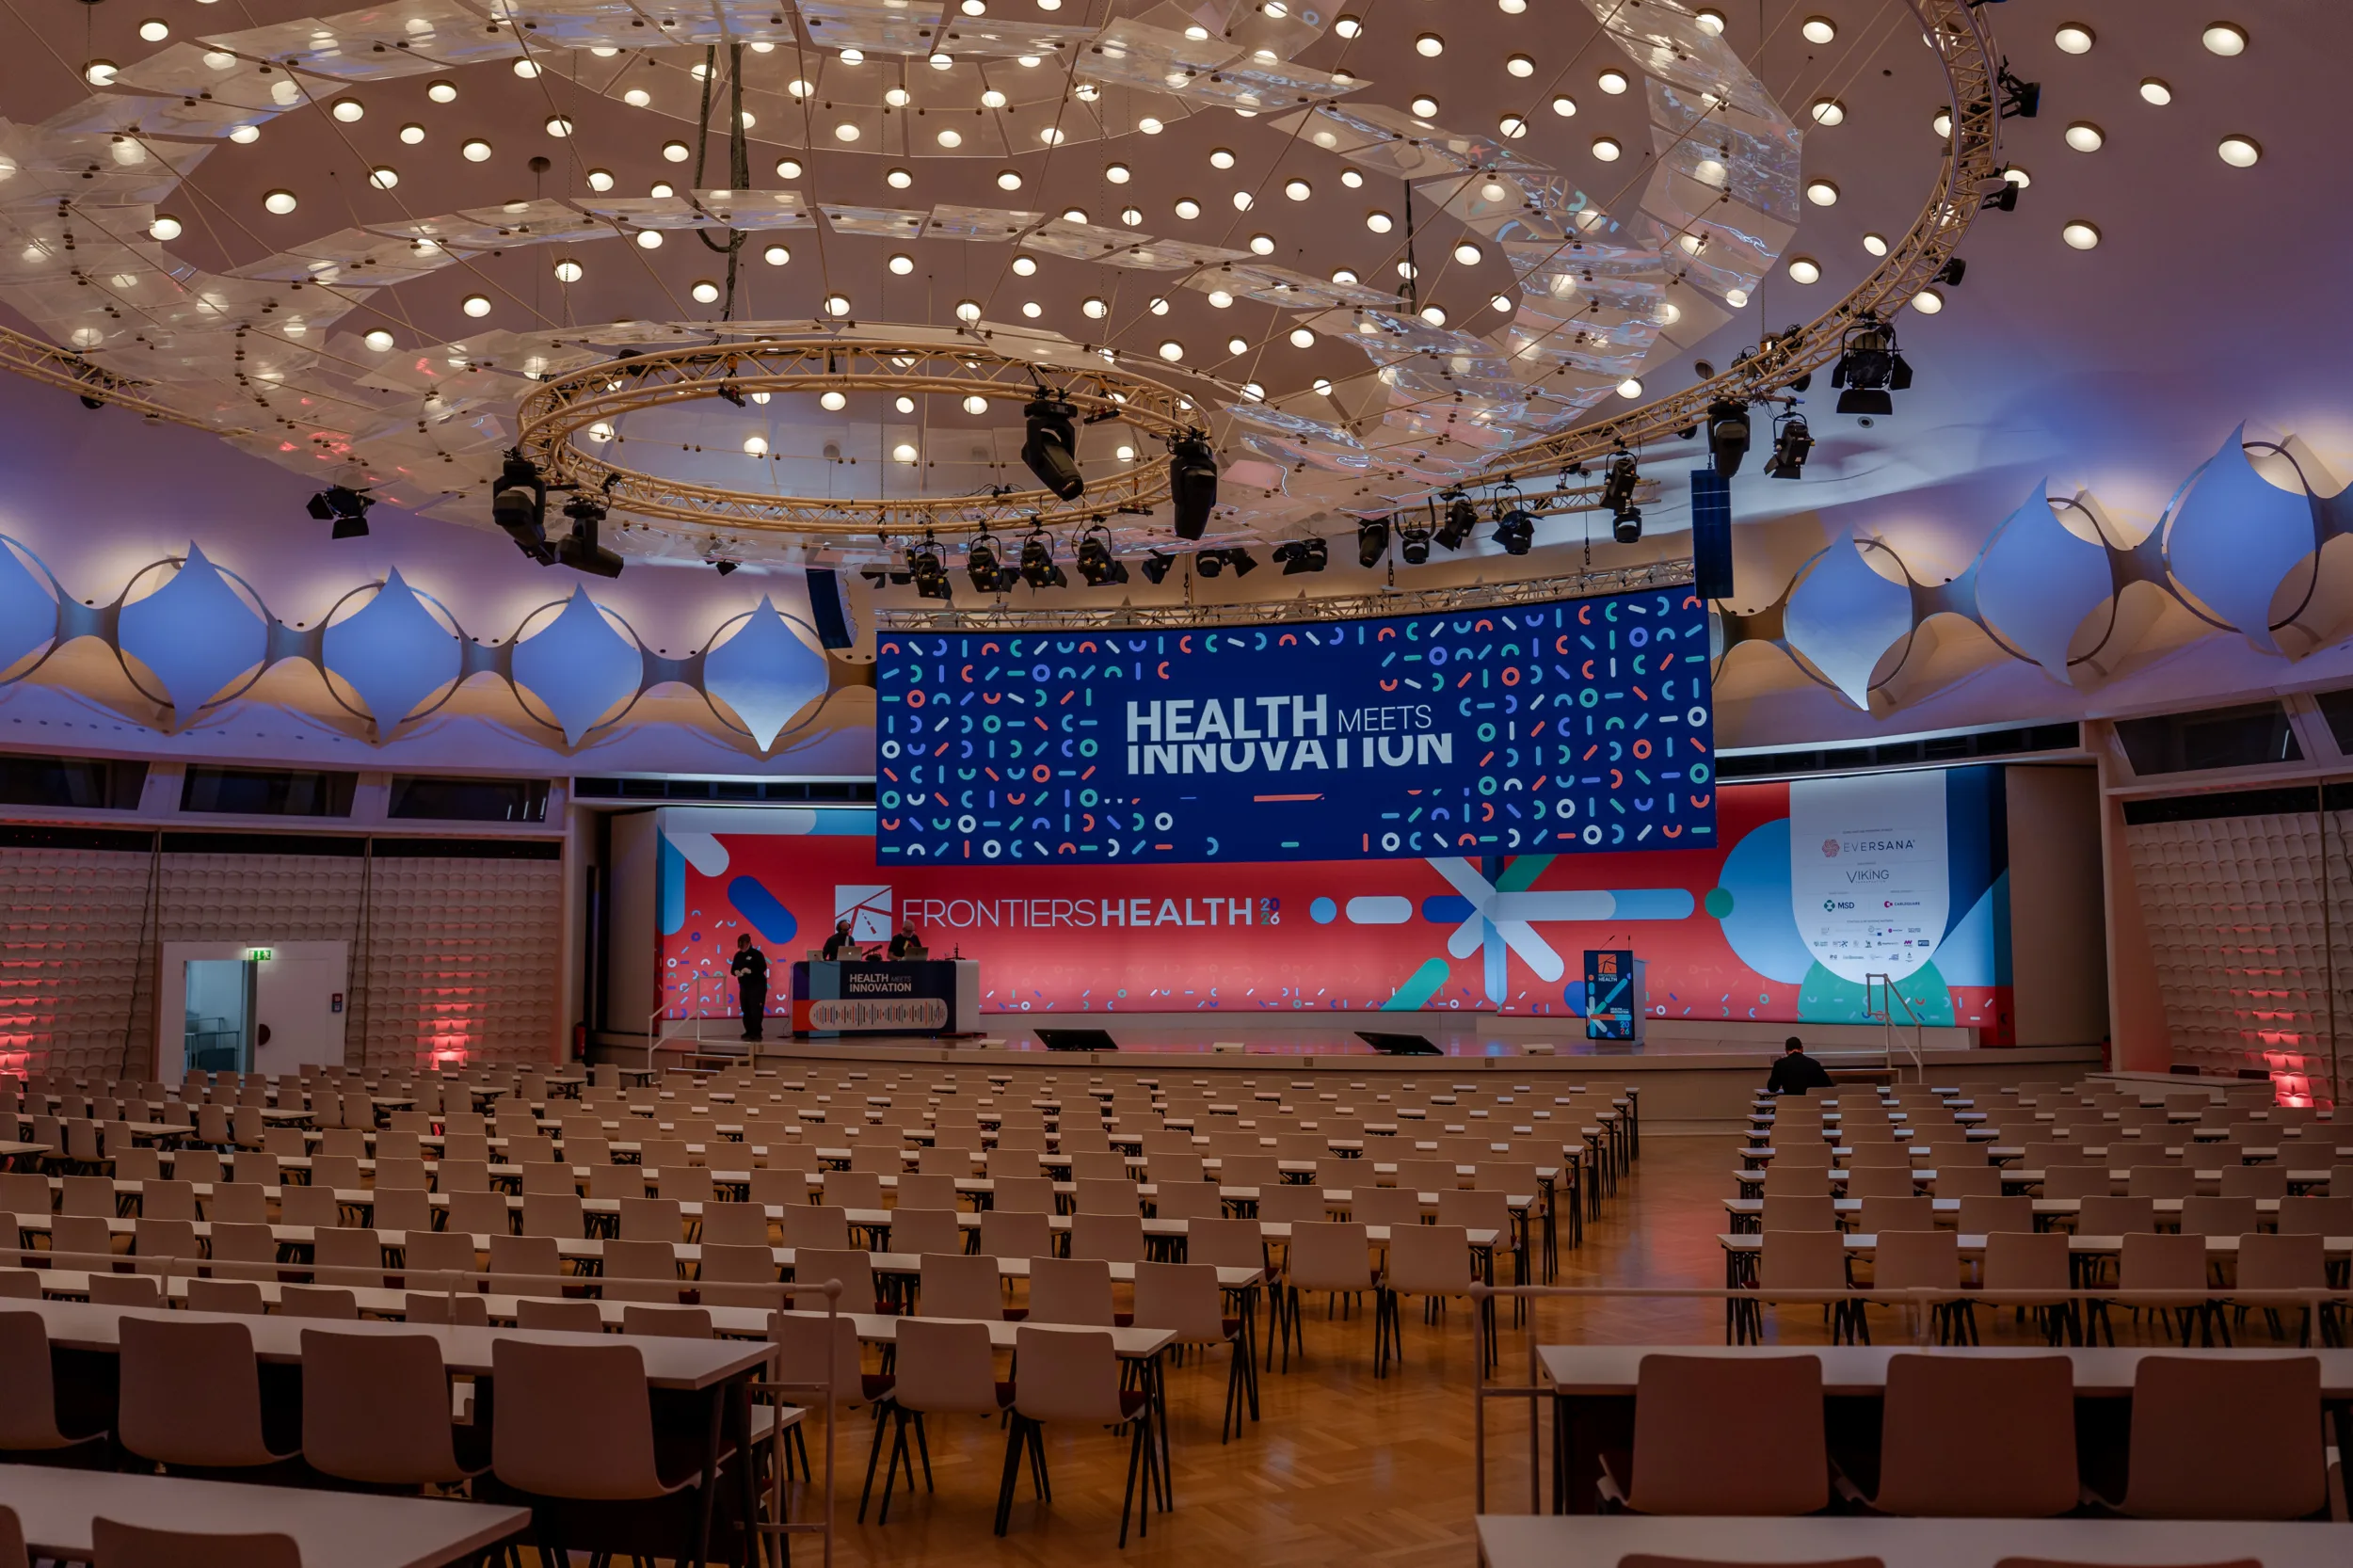
The main hall gives you much more room to move. I used a 24–70 mm lens for the stage, groups and contextual photographs, then a 135 mm lens for proper close-ups of speakers. You can sometimes come close to the stage, but a real telephoto lens is still useful when you want a tight portrait without interrupting the audience or becoming part of the show yourself.
For the widest view of the full conference room, 24 mm felt too narrow. I needed 18 mm to include the scale of the auditorium in one frame. I probably used it for 4-5 shots out of the thousands I captured, but that is one lens choice I would not want to discover halfway through the event, so I would keep an ultra-wide lens in the bag even if I expected to use it only for a few photographs.
External Flash Use
I have brought my speedlight and a soft box as I always do just in case, but for this particular venue I did not find a proper use case for it. Parts of the networking areas have blue ceiling, which means you can’t really bounce light off it. At the same time in many other areas light is good enough. I used it on some of the photos but then felt like it was unnecessary and that I can also slightly highlight subjects with masking in lightroom.
What I would Suggest Bringing
- A 24–70 mm lens for general coverage and quick changes between wide and medium frames
- A lens longer than 100 mm for level A and close portraits on the main stage
- An ultra-wide lens around 18 mm for the full auditorium
- Two camera bodies, but with a short colour-reference test if the models render colour differently
- Enough time before the programme to test the light in all rooms and the screens.
Overall experience photographing at BCC In Berlin
The venue has enough variety to make a conference gallery feel visually rich, and I particularly liked the natural light on level C and the soft ceiling light around ground level coffee-break area. The main complications were the changing colour between breakout rooms, the screens and a few restricted angles on level A.
None of those problems made the venue unpleasant to photograph. They simply changed how I worked. After this first assignment, I would arrive knowing where I wanted to cover networking, and which lenses I needed on each floor. At the same time comparing to other venues this one is great for photography. I have photographed at numerous places where decorative projectors where placed right behind people making everything look almost like silhouette photos, or places where the projector screen and stage were placed in front of a large window so I either severely overexposed windows or underexposed the stage or venues where networking areas are covered in tiny spotlights, making people look 5 years older or lastly a flickering light in a room where life performances where taking place some that included dancing. This venue offered quite a good light, and I didn’t have a bit challenge fixing it with mine, I used what was there and it turned out really good
I would be happy to come back for another shoot.