Before writing this article on how to photograph a corporate conference, I actually thought there wasn’t that much to talk about when it comes to photographing conferences, but I think that’s mostly because after years of doing this type of photography a lot of it has become kind of obvious to me. If someone is just starting with this type of photography, though, there are actually quite a few things that could be helpful to know in advance.
Conference photography requires, first of all, reliability and pretty much perfect technical execution, with a bit of creativity on top. Because of that I usually focus on the safe photographs first and then, once I know I have them, start looking for something more interesting.
I scout the venue before the conference starts
II normally come a bit in advance and quickly scout the venue before the conference starts. I check where the stage is, where the speakers are going to be, where people enter, where the audience sits and generally walk around looking for the best frames. Usually I already find a set of positions that I know are going to work, and I’d say maybe 50% of my work then happens around these safer points of view where I know I can reliably get good photographs.
For every speaker I also deliberately try to cover them in several different ways: a close-up, almost like a headshot, a full-body photograph, and then something wider with the audience in front. Once I know I have all of that, there is much more freedom to look for stronger frames.
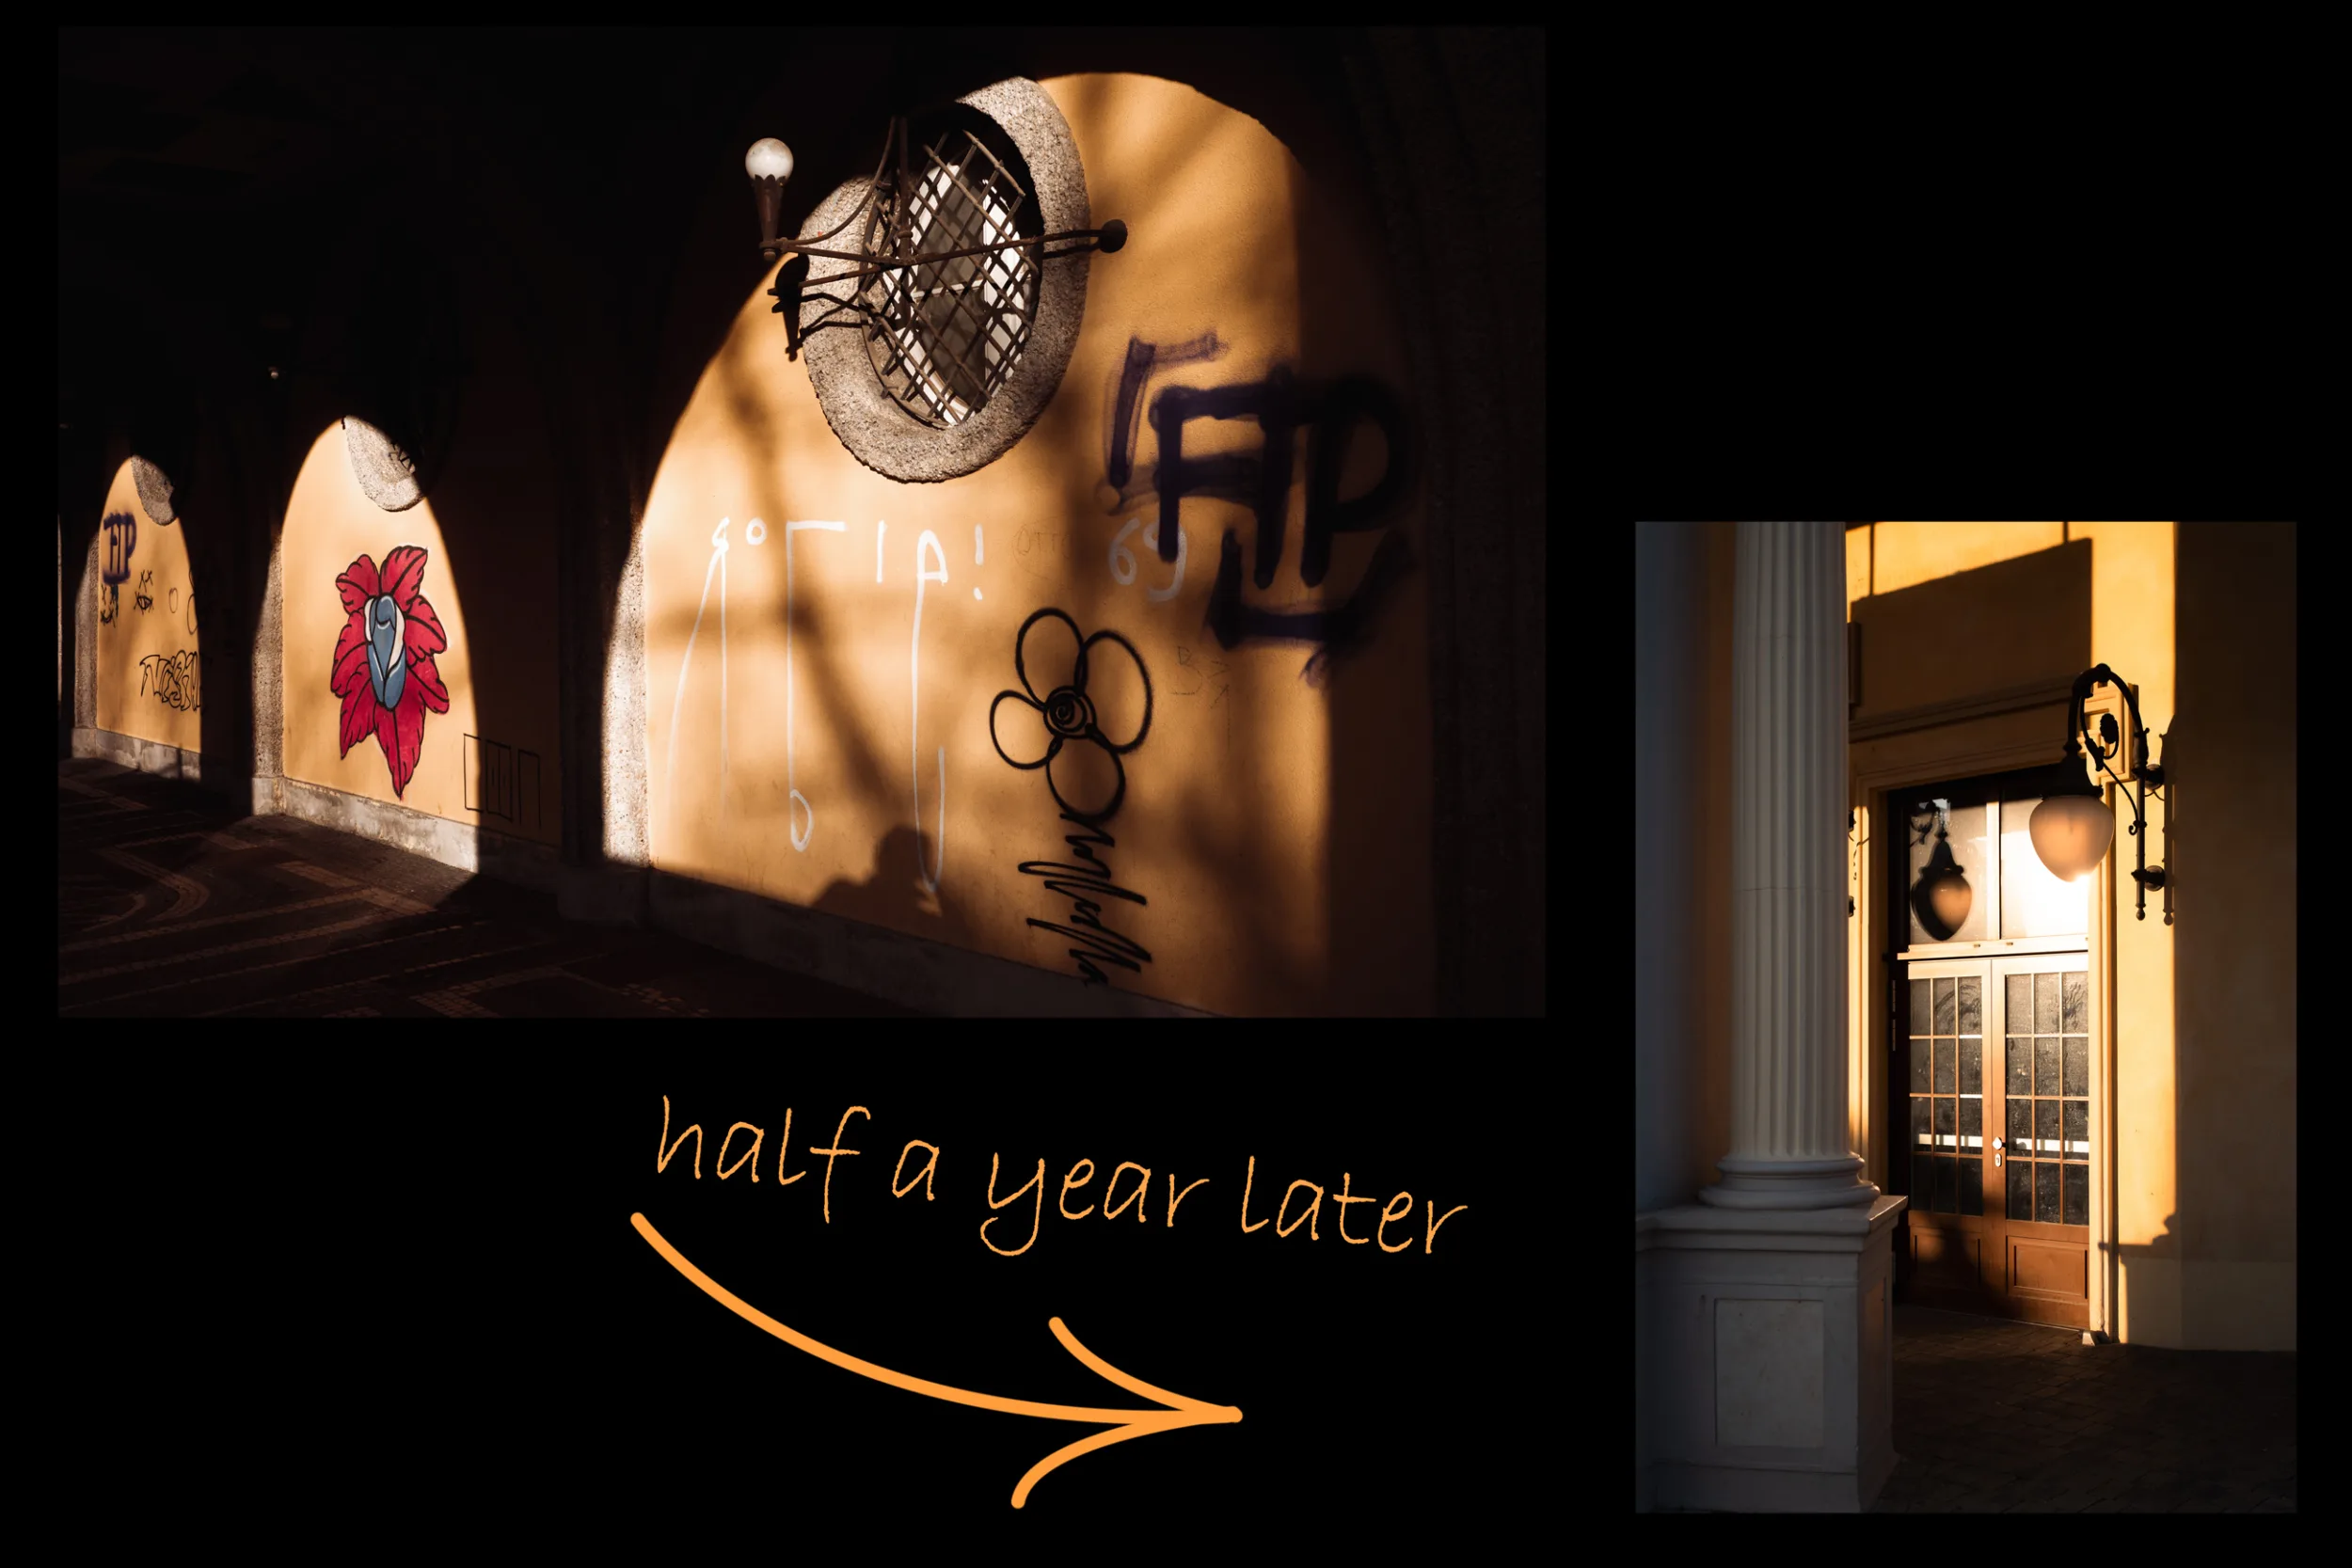
One thing I also check is what is actually behind the speaker, because quite often the same subject can look better from one side of the stage because the background is cleaner. It’s not rare to have windows almost directly behind the speaker, a very bright projector screen, an exit sign or just something visually distracting. If you have a window directly behind the person, you suddenly get a strongly backlit portrait where the speaker is dark and the background is much brighter, and a projector screen can create a similar problem and completely overtake the subject by brightness.
You can fix some of this in post, obviously, and you can remove an exit sign from the photograph, but if you have to remove the same exit sign from 200 photographs it gets a bit annoying. So I usually walk around the stage either before the conference or early during it and find the angles where I don’t have these problems in the first place. And! choose not only the angle but the right frame/lens for it.
Why I bring many lenses to conferences
For portrait photography I can easily take one or two lenses and be completely fine.
For conference photography, I normally have at least three or rather four.
One of them is usually a 50mm prime. It gives me a softer look and also helps in particularly dark environments because of the wider aperture.
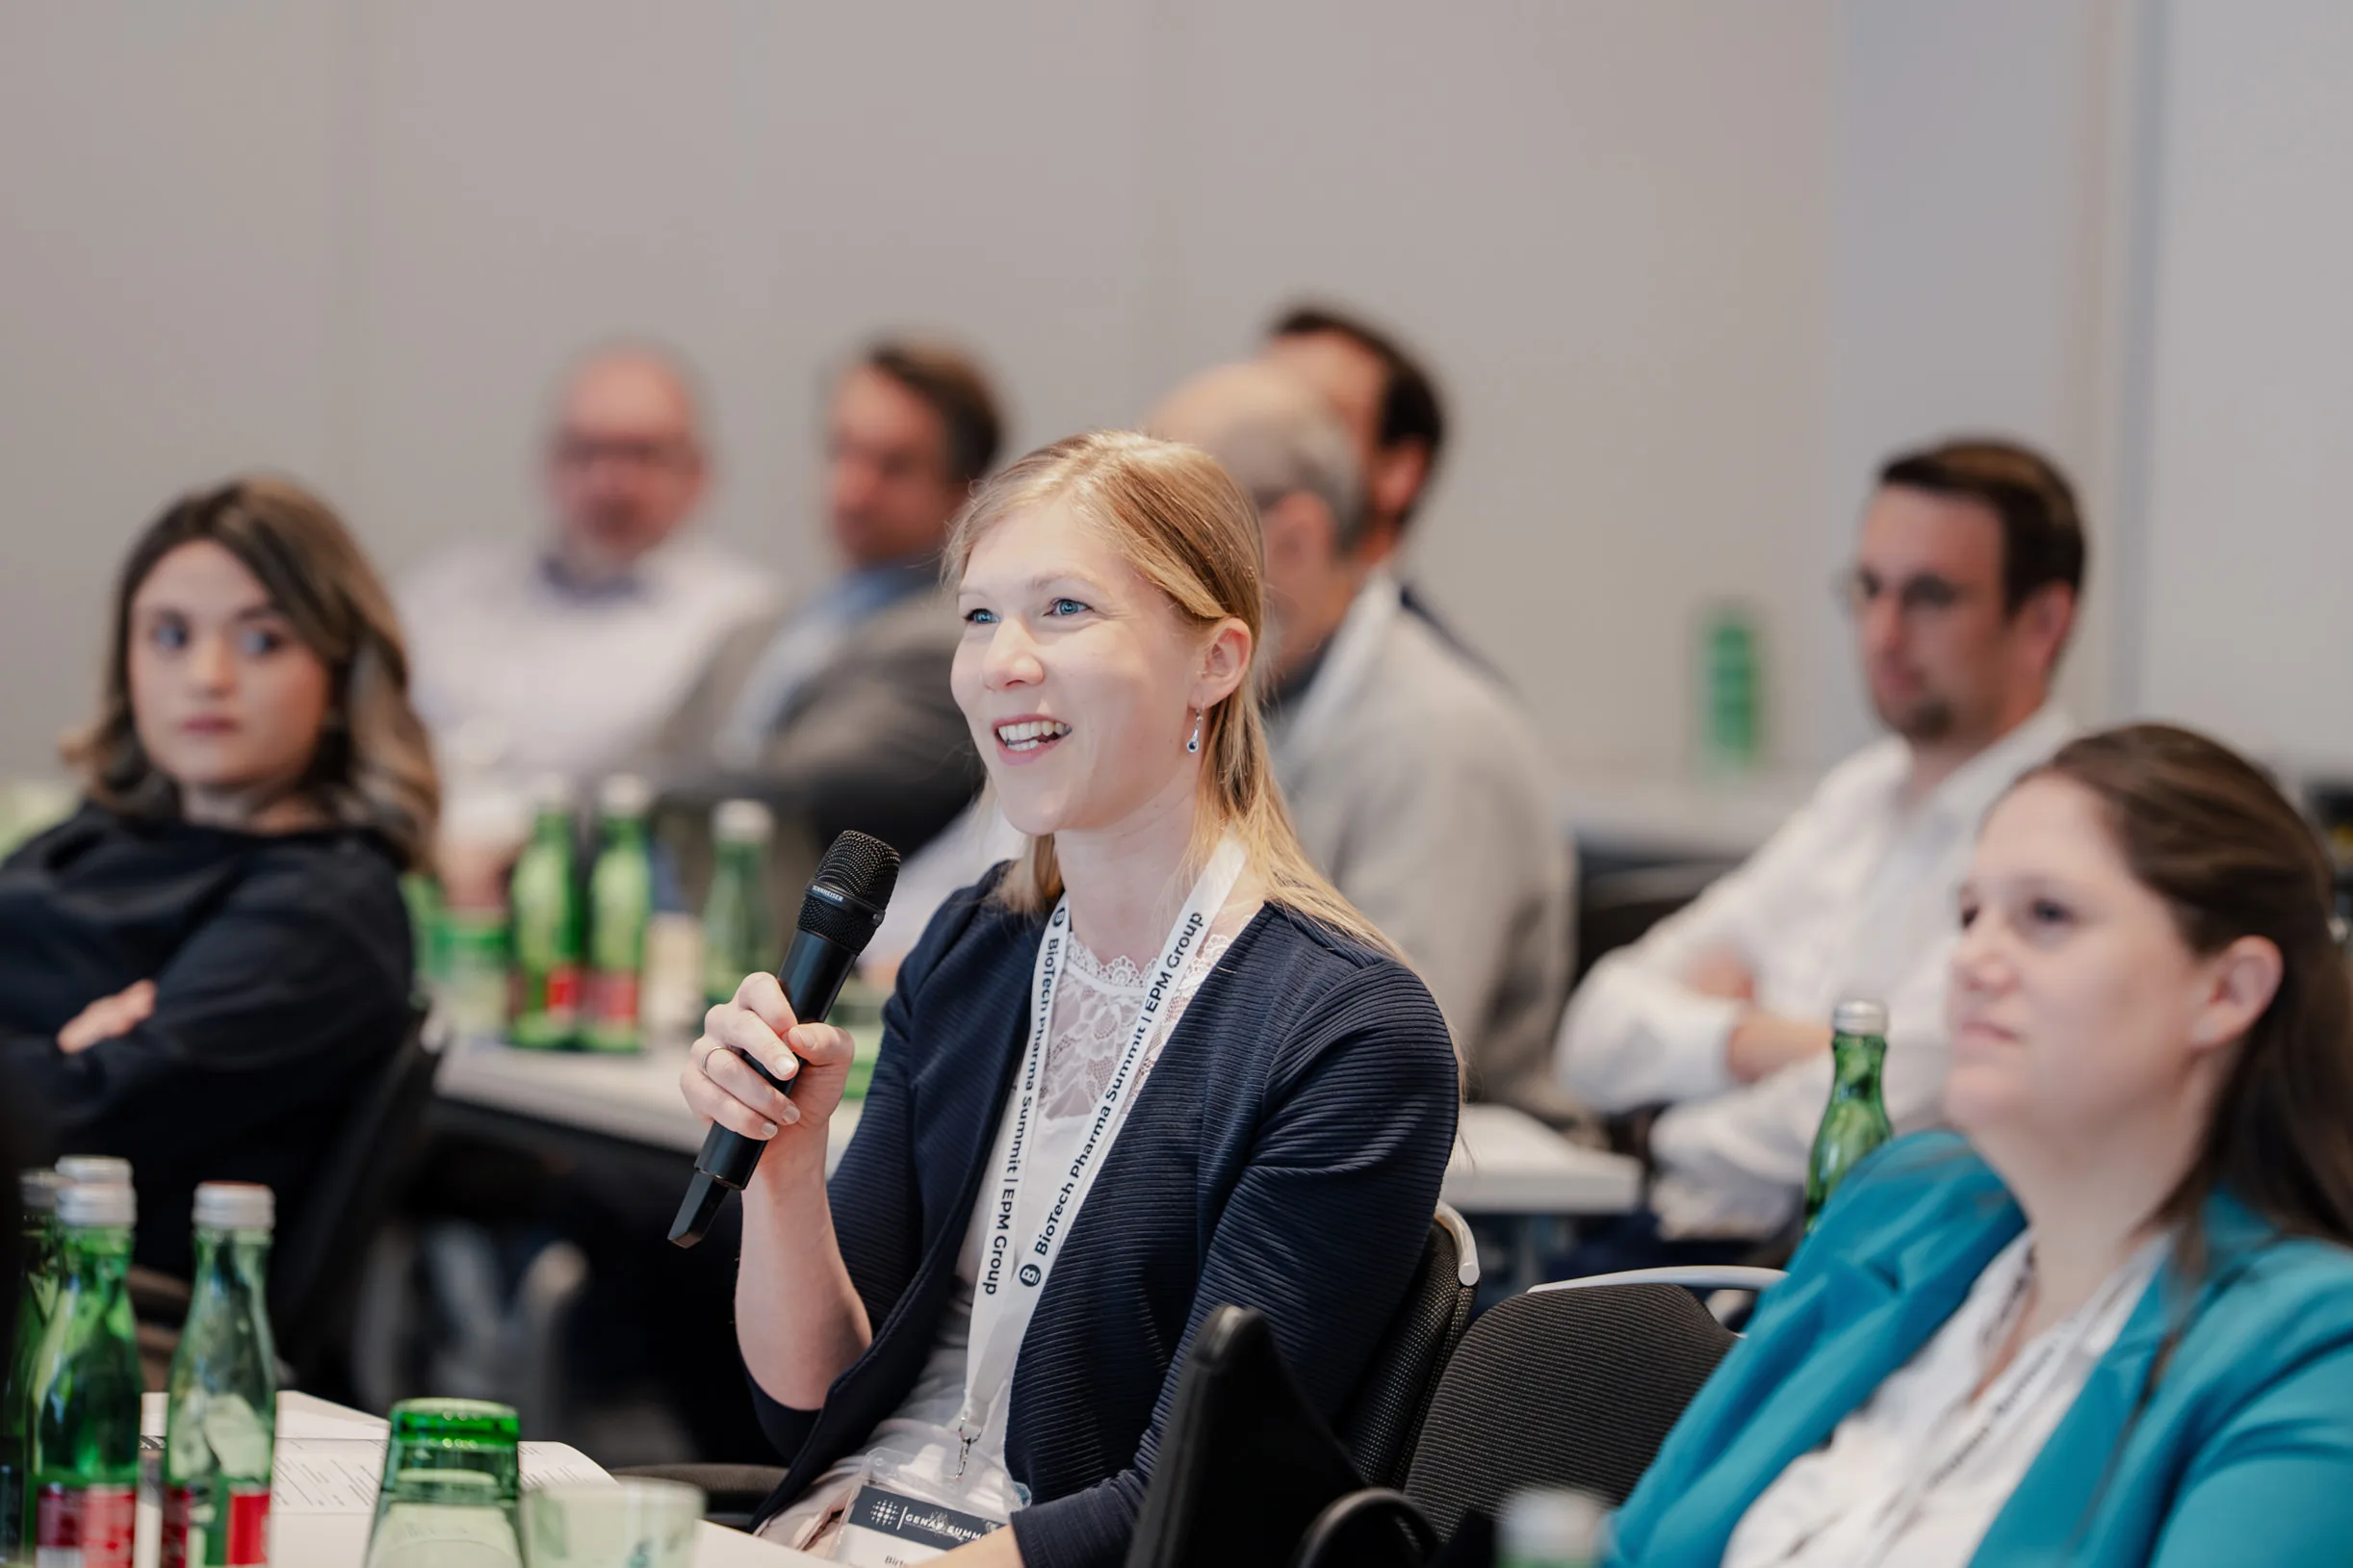
I also use a 135mm lens with f1.8 quite often for more compressed and sometimes slightly more epic photographs where you have the audience blurred in the foreground, or when I want something closer to a portrait of the speaker. Quite often you simply can’t get close enough to the stage to make that kind of photograph with a standard zoom.
On the other side, I carry an 18mm lens. It is wider than I need for 99% of photographs, but it becomes very helpful for large group photographs in case there is very limited space.
My general-purpose zoom is currently the Tamron 28–75mm f2.8. I chose it instead of a 24–70 because I personally find the extra reach slightly more useful for conference coverage than having 24mm on the wide end. If I look at the photos after a conference its more common that I’d shoot something with a telephoto rather than a wide angle
So generally I have one zoom that covers most situations and several lenses for specific photographs that I know I want to create.
I think having a zoom lens is kind of vital
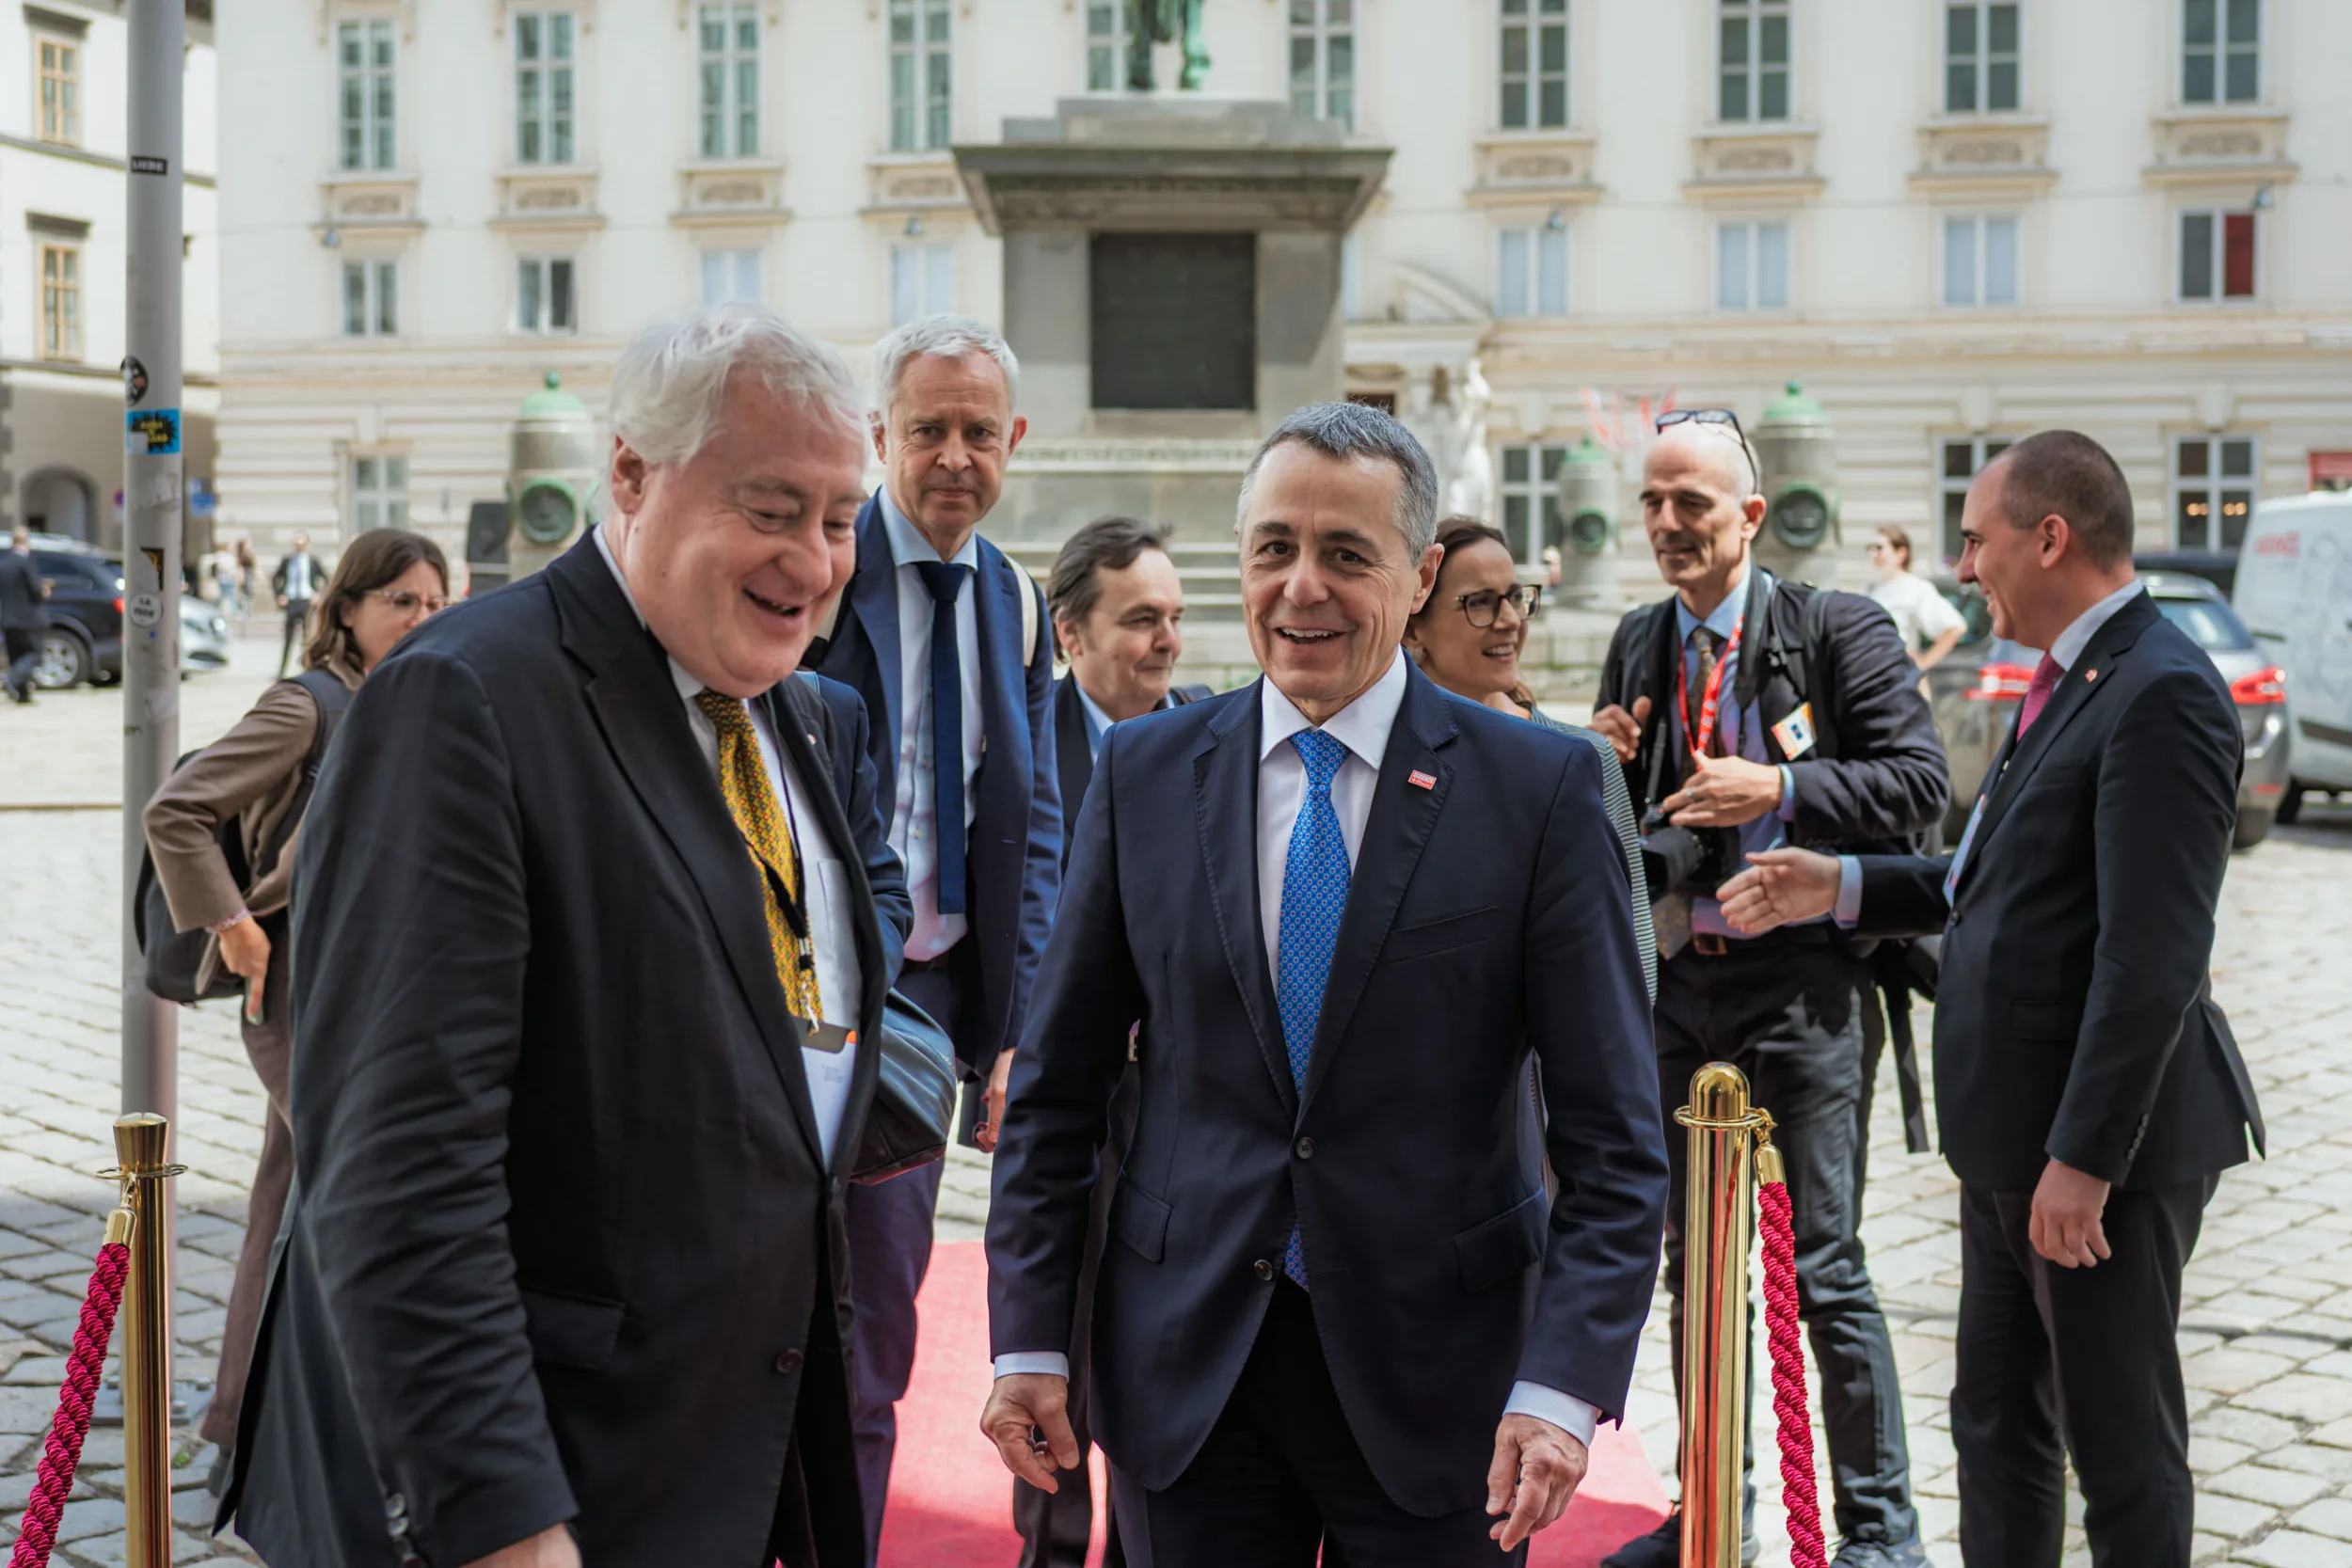
It is possible to photograph conferences with primes, and I actually did it a couple of times years ago because at one point I became completely comfortable working with them. To be honest, for maybe half of conferences it can be completely suitable, especially if you have enough time to move around and choose the best angle, and from one point of view it can actually help to create stronger photographs because it forces you to move and think more about the frame.
At the same time, it becomes very limiting when something starts happening quickly.
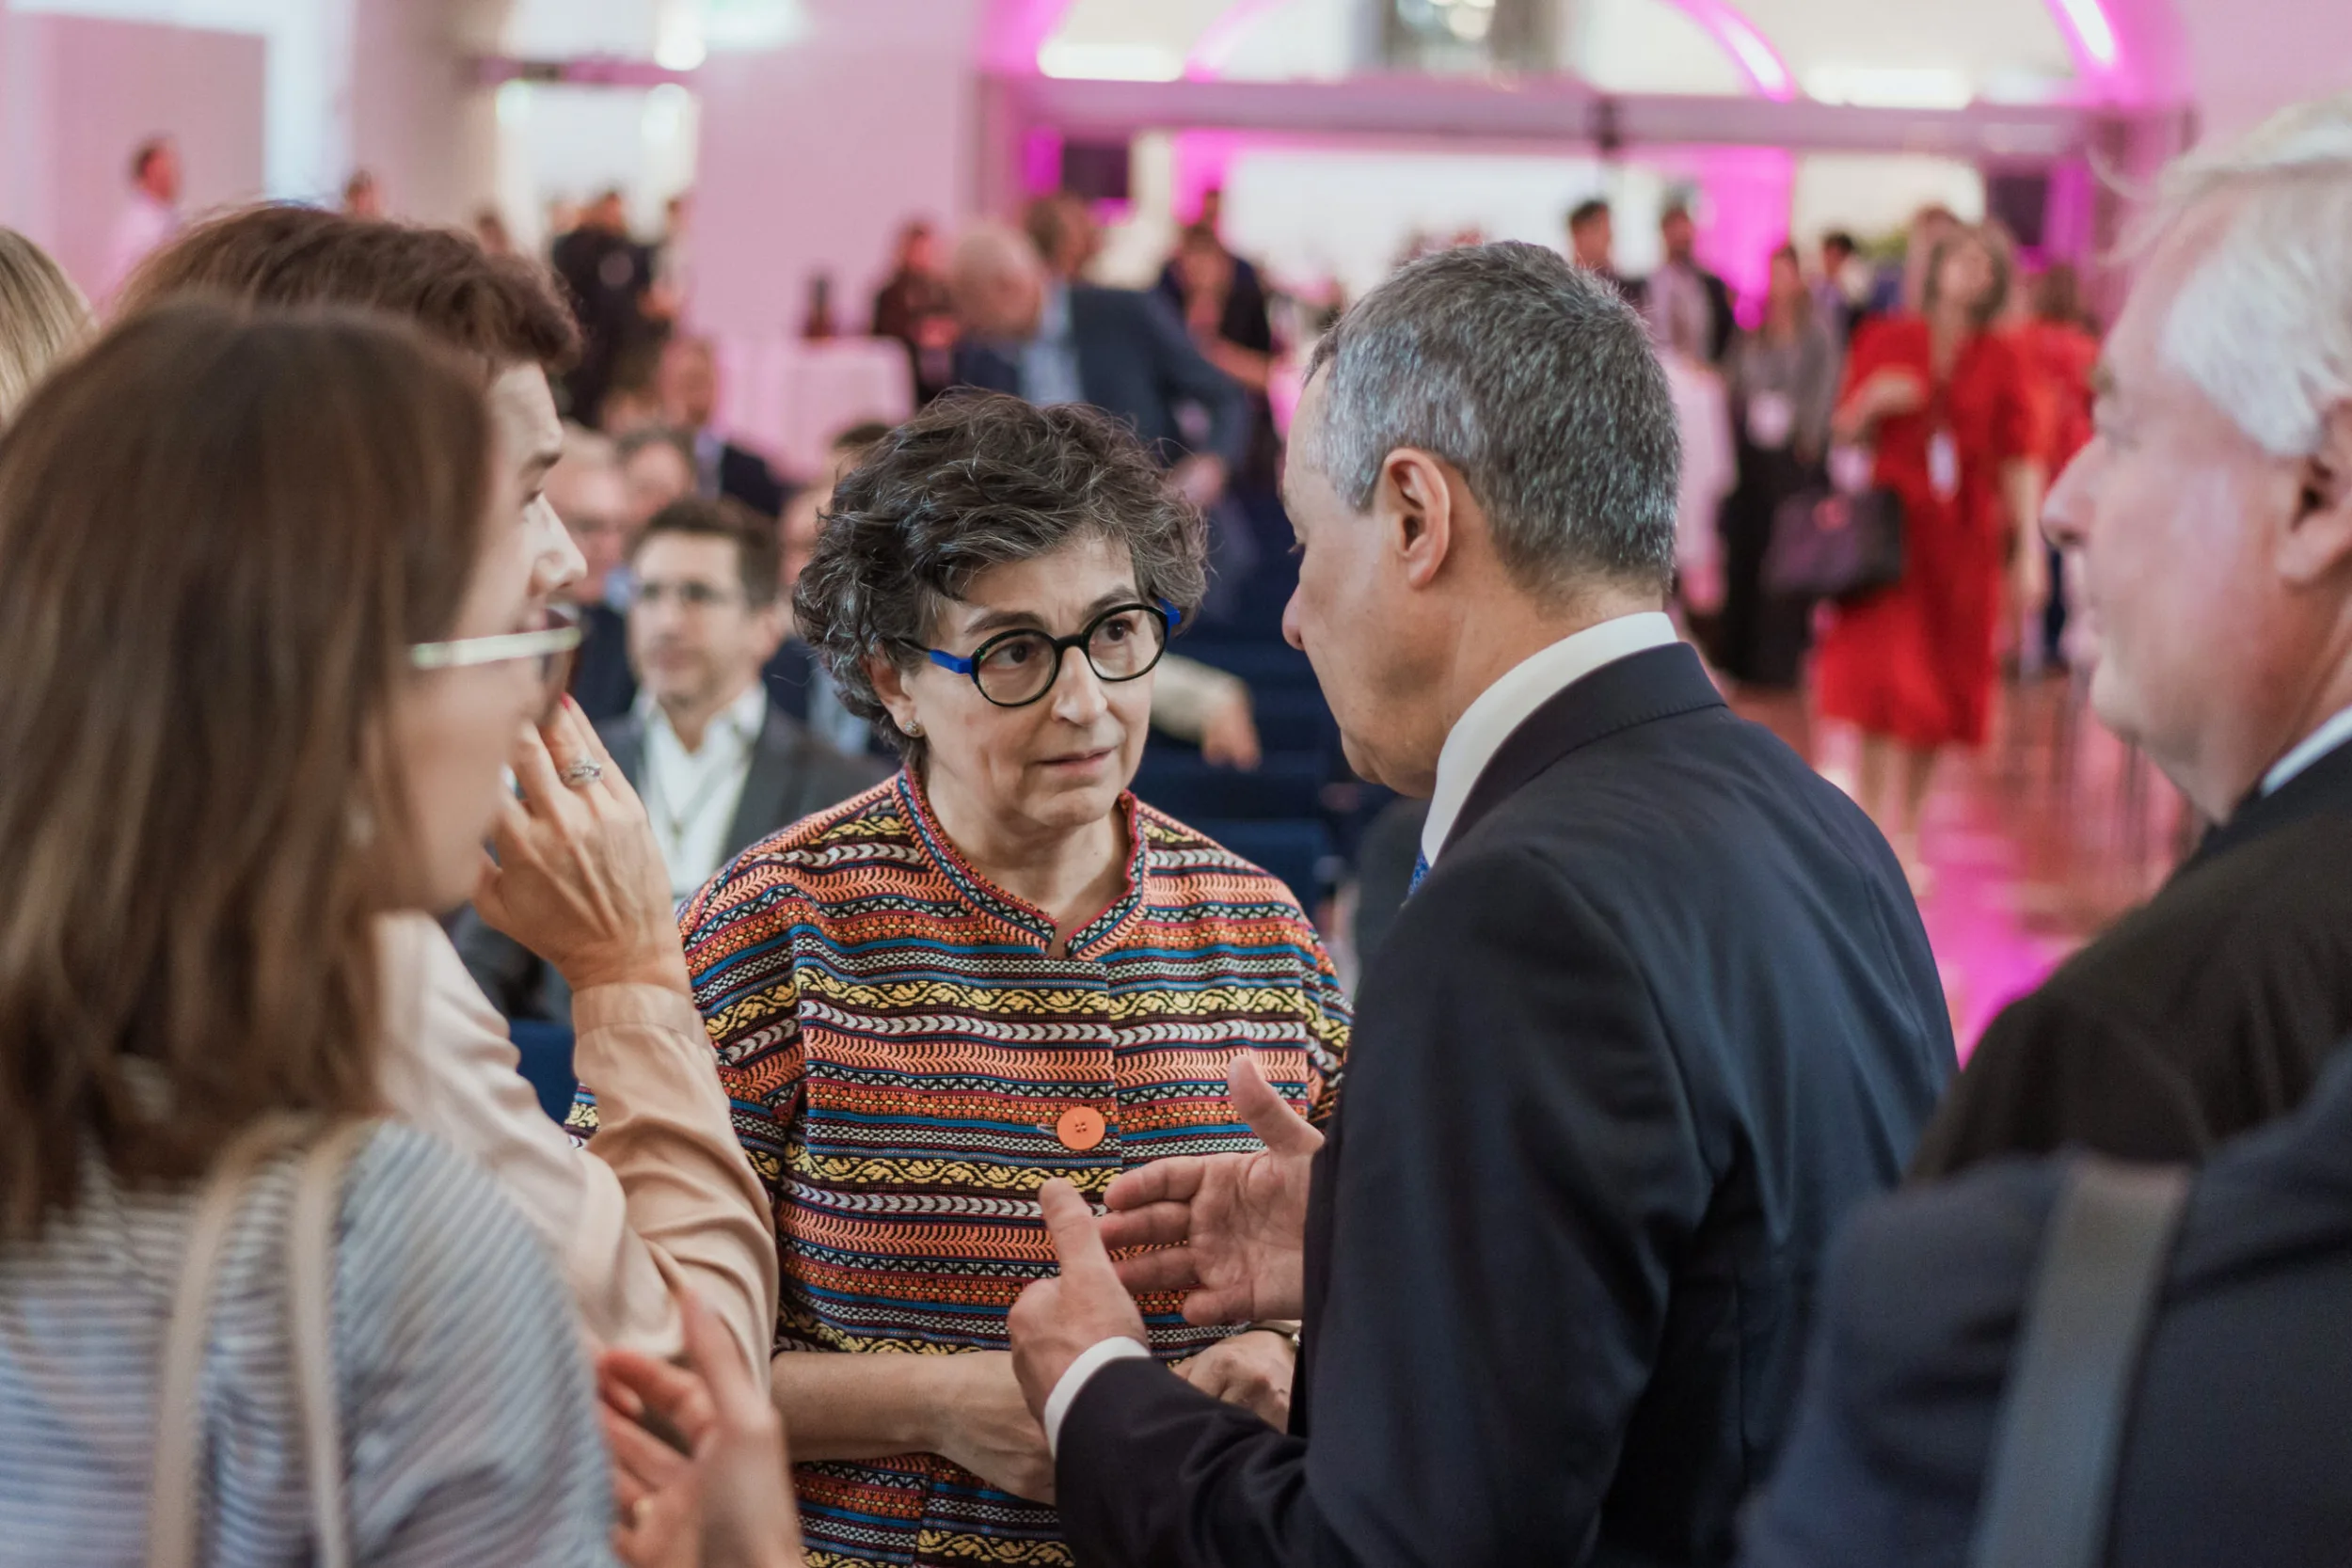
One example is when I was photographing VIP arrivals of different EU ministers. They were walking into the venue at a completely normal pace, but they were greeting people and shaking hands as they entered, so everything was happening very quickly from the photographer’s point of view. I had to walk backwards at the same time as photographing them, check where I was going and also check how my flash setup was working, since at that moment I was bouncing the flash into the ceiling, and all of that had to work at the same time.
If I only had a prime there, it would have been quite a problem. I was using two cameras, and ironically some of the best photographs came from quickly picking up the camera with the prime lens, but the zoom gave me the safety and flexibility to know that I would actually cover the moment.
I normally use two cameras
Conferences can move surprisingly quickly, so I usually photograph them with two camera bodies.
Apart from being able to have different lenses ready immediately, it gives me another layer of security.
If one camera suddenly fails, I still have another one.
For the same reason, I also record onto two memory cards.
My main card normally records RAW files, while the second card records high-quality JPEGs.
Apart from simply having another copy of the images, the JPEGs can occasionally be useful if the client needs photographs immediately during the day.
If the internet connection is weak, for example, I can take one of those JPEGs, make a very small adjustment in Lightroom and send it considerably faster than transferring and processing the RAW file.
Conference lighting can be quite bad
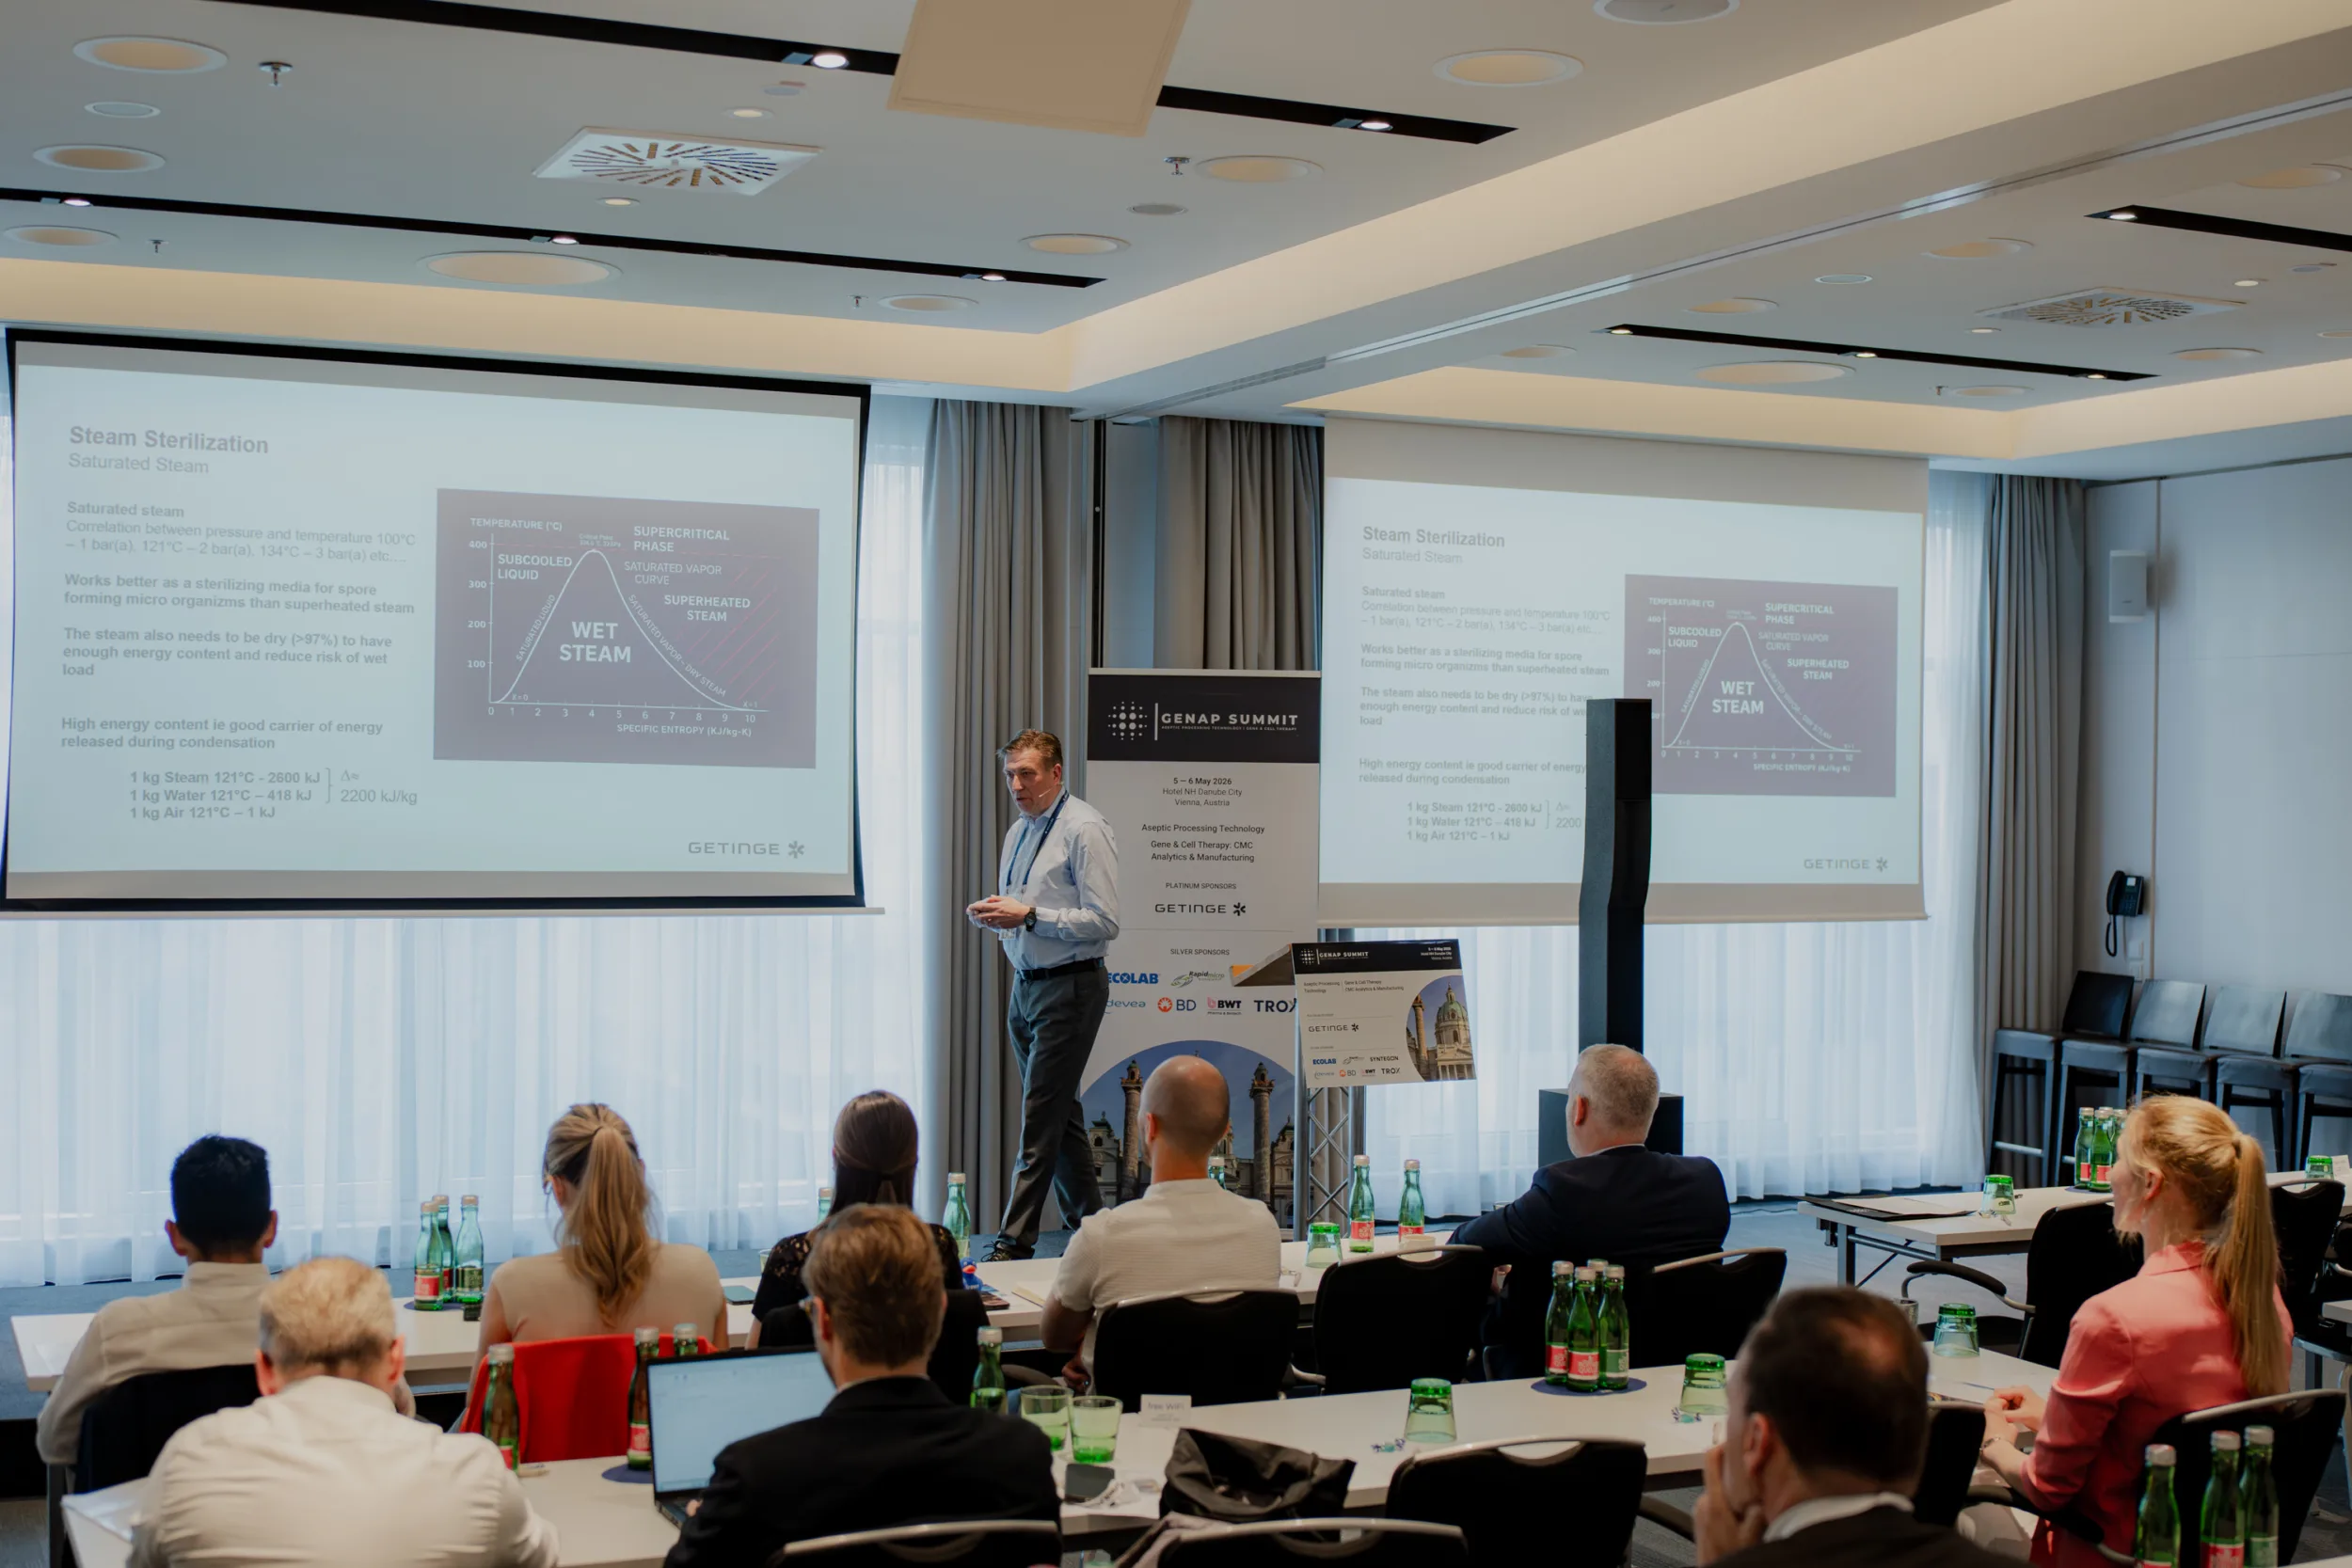
We cannot really control the light at most conferences, and on many of them the lighting is relatively bad for photography. You can have yellow artificial lights inside the venue and colder natural light coming through the windows at the same time, and then you end up with a situation where either the outside light looks too blue or the yellow venue light starts glowing this very vibrant orange-yellow colour.
With the right white balance you can obviously fix a lot of it, but another problem is that the colour can vary even within the same room. One side of the venue can be close to the windows while another part is mostly lit by artificial light, so I don’t really rely on finding one correct white balance before the event and leaving it there.
I check the venue and sometimes set it manually, but more often I actually use Auto White Balance because I normally edit RAW files anyway. In different rooms and different parts of the venue the colour changes, and I find it easier to let the camera get somewhere reasonably close to natural and then adjust it properly during editing.
Exposure mode: I usually prioritise shutter speed
Depending on the lighting scenario, I either use Manual mode or, quite often, Shutter Priority.
For conferences, I care more about making sure the photograph is sharp than preserving slightly cleaner image quality at a lower ISO.
For conferences I need to make sure the photograph is sharp, and I would rather sacrifice a little bit of image quality with higher ISO than have a blurred photograph because the camera decided that ISO 2000 and 1/50 was somehow a better choice than ISO 3200 and ~1/100 while someone was walking on the stage.
A bit of extra noise is usually very easy to deal with in editing, especially with modern cameras and denoise AI, so, personally I wouldn’t worry about it.
So in darker venues I often set the shutter speed I know is safe for the situation and let the ISO rise (using auto ISO with a cap at about 8000). If the light is stable and predictable, I may switch to Manual instead.
The exact shutter speed obviously depends on what is happening, but the principle for me is simple: I would rather sacrifice a little image quality than sacrifice sharpness.
This is also where faster lenses help
There are conferences where the venue is genuinely very dark and even at f/2.8 I sometimes have to go to ISO 6400 or higher.
If you’ve got an f4 lens and it worked well for you outside, on conferences it will not handle it. I often close aperture a bit for faster focus and a bit sharper image, but personally I wouldn’t want to arrive at an unknown venue with an f/4 lens as my only option.
One way I work around particularly dark situations is having something like the 28–75mm f/2.8 on one camera and a 50mm f/1.8 on another. Then, when I have the time for it, I can use the prime and preserve more quality.
Another solution, especially around networking areas, is flash which I put somewhere in the networking area, trigger it remotely and point it into the ceiling just to create some extra ambient light in the room. Otherwise you can keep it on-camera and bounce it from the ceiling to get soft ambient light in the room.
You need to think like the client
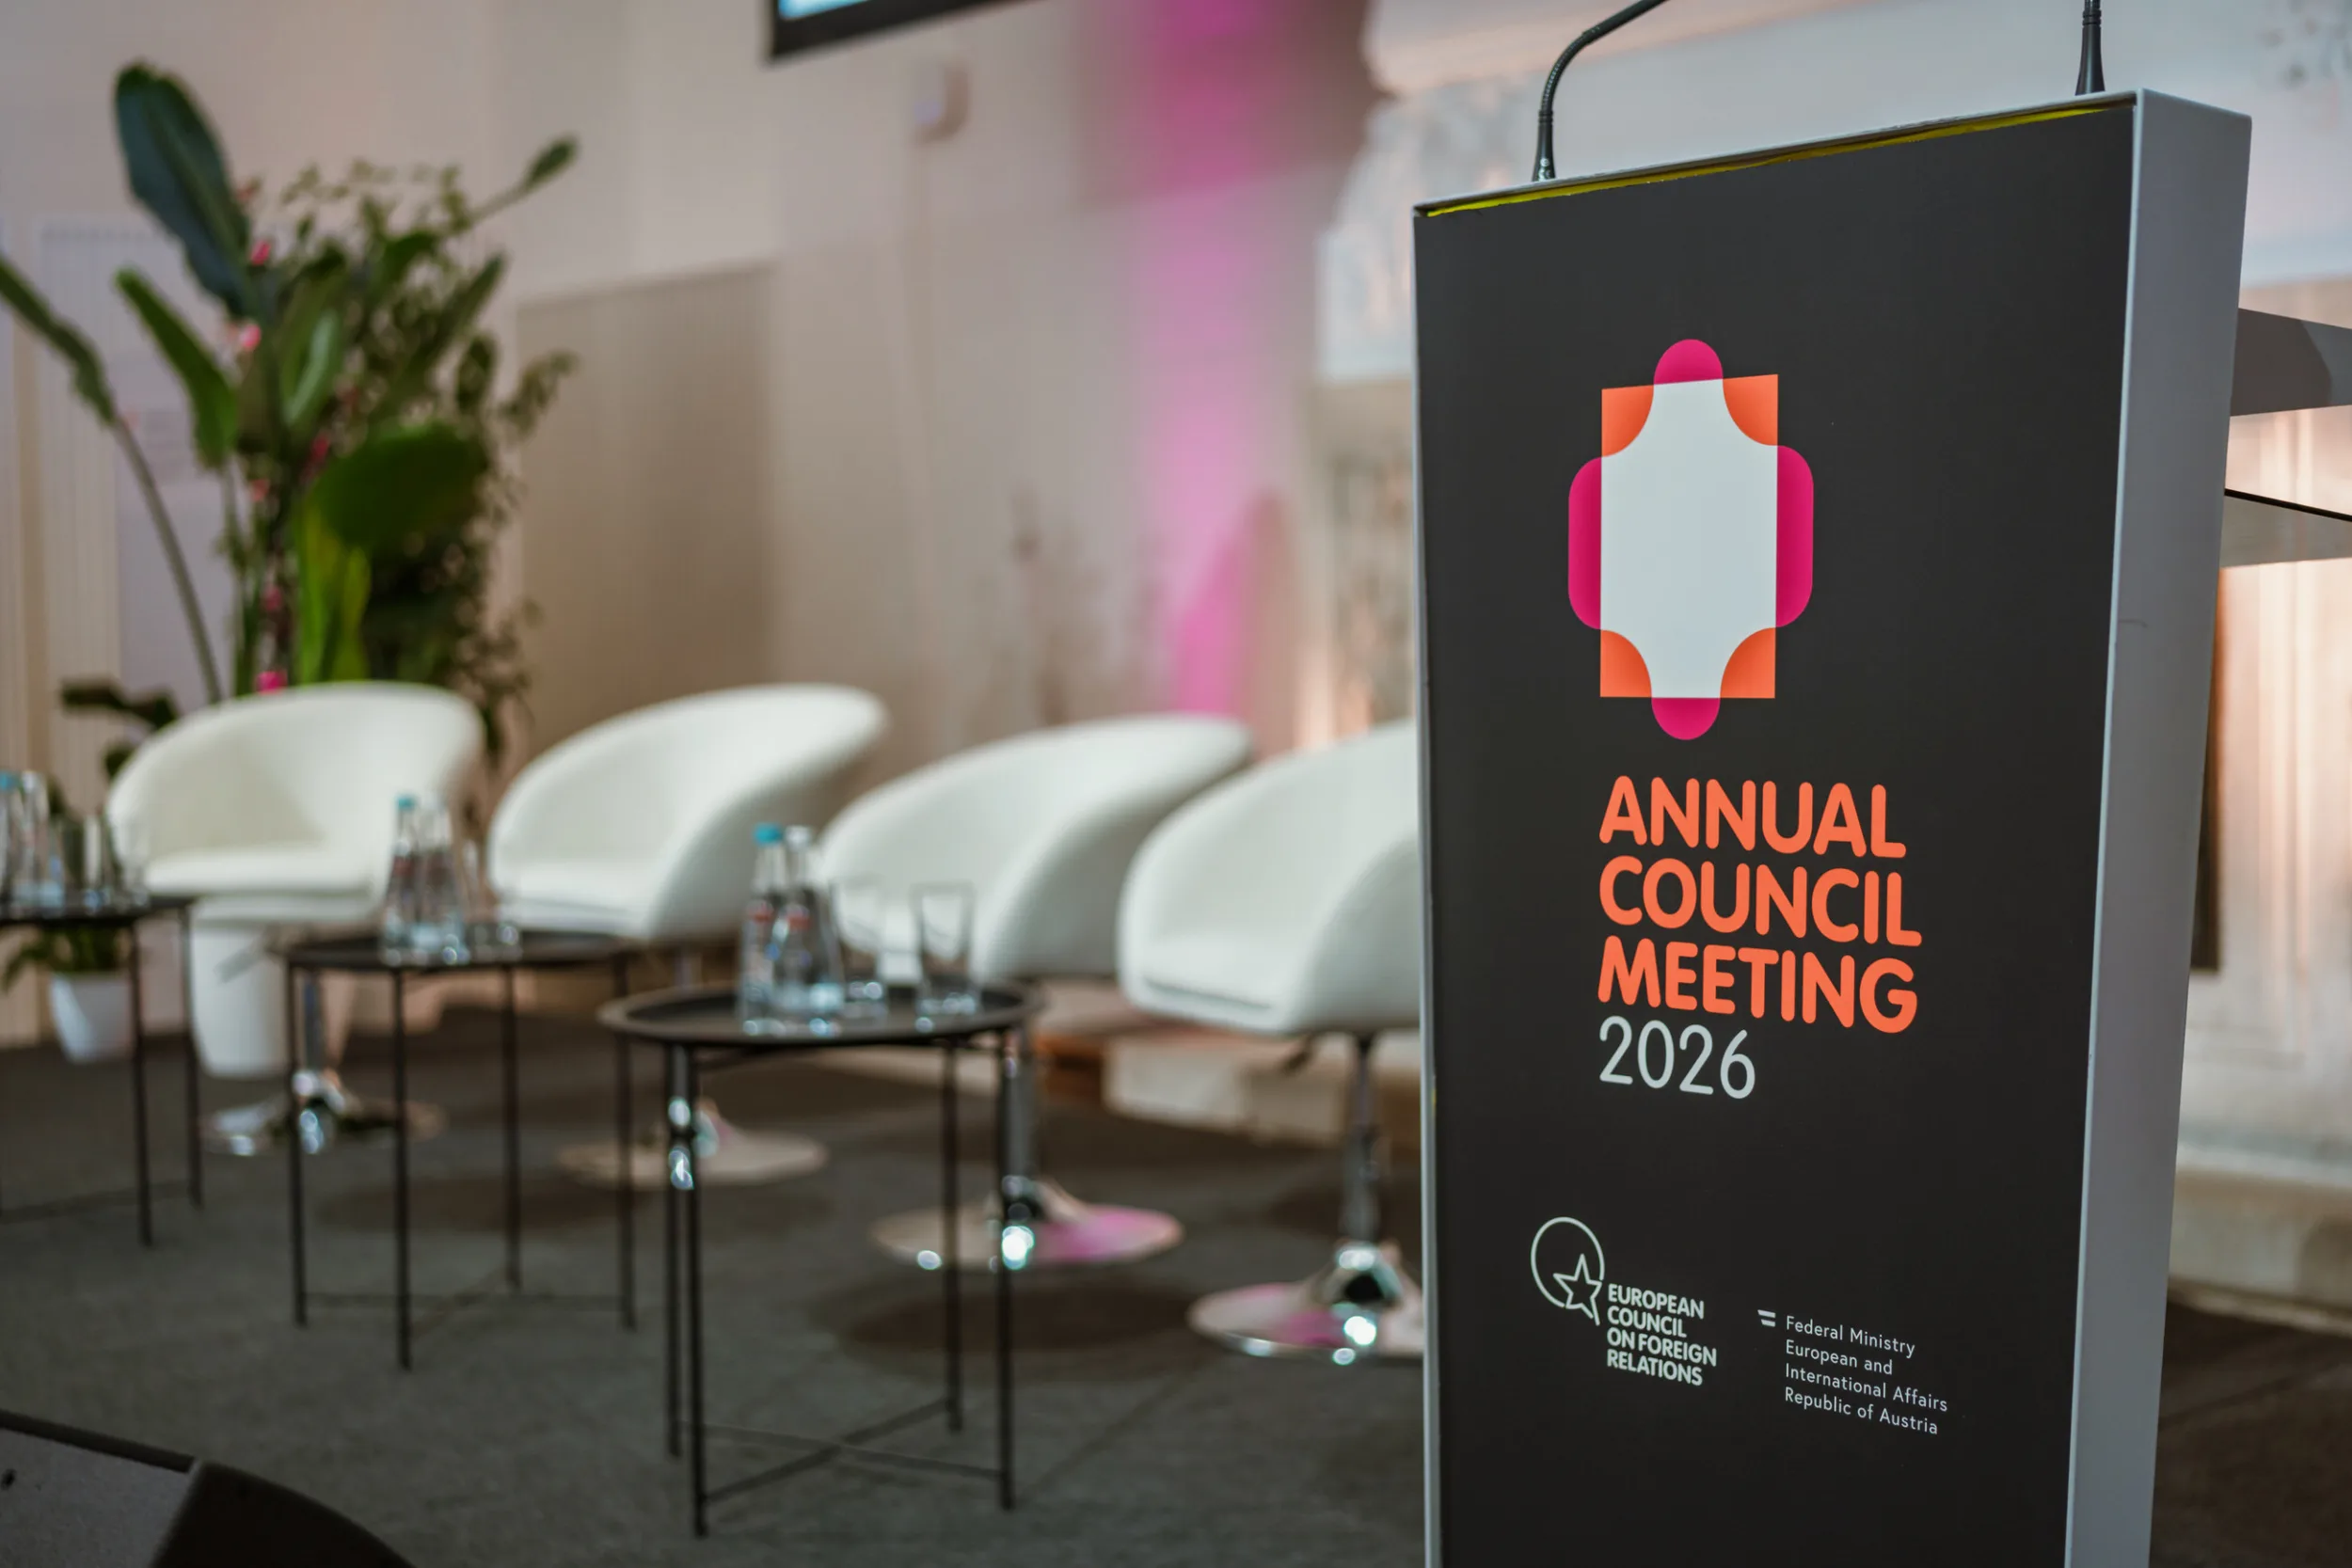
Another thing that is a bit different compared with some other genres I’ve photographed is how the images are actually going to be used, because to provide good conference photography you need to think like the client.
I try to cover all of the networking highlights, arrivals of people, branding, how the venue looks and generally everything that could later be used for promotional materials, PR, the website or social media. There isn’t really that much more to say about this other than that it’s a good idea to ask the client what is specifically important for them, and I normally also tell them what I would cover anyway and ask if there is something else that I might have overlooked.
You can create a small checklist for yourself. Nowadays you can even use AI to help create one from the conference programme, or obviously just make it yourself, but I would read through it before the event rather than constantly checking it while photographing because you need to actually be present there.
The difficult part is staying focused for the whole day
That’s also one part of conference photography that makes it more difficult than it might seem at first. It can be difficult and enjoyable at the same time, but you need to stay focused for approximately eight hours and not miss anything important.
When the attendees go for a coffee break, chat and relax a bit before the next session, that doesn’t really mean you are on a break as well. You just switch from focusing on the session to the networking part, where now you are looking for human interactions, and everything happening outside the conference room, and then the next session starts and you switch back again.
Obviously I do take little breaks from time to time because it’s very difficult for a human brain to stay completely focused for eight hours, but the important part is figuring out when you actually can take one. If there are multiple parallel sessions, audience questions and networking happening at the same time, there might simply not be much of a break for a while.
Also your break is not like you switch off and fully relax, its when you allow yourself 10-15 minutes while if something is going to happen you will jump up and continue photographing. You probably know how it works if you photographed weddings before…
Editing should look refined but still true to life
Most of my clients like to have a clear and refined look that is still true to life, and I think it’s useful to focus specifically on the kind of editing that is actually helpful to the client.
That doesn’t mean the photographs have to look straight out of camera. If everything looks completely straight out of camera, you can also become indistinguishable from every other photographer. The photographs can still look slightly elevated and polished, but I keep the look soft and natural.
If you’re coming from weddings or have done something more creative before, this probably isn’t the place where you tint your shadows blue and your highlights orange. Or if you do, you do it so slightly that it’s almost not noticeable. For me it’s more about showing the event in a documentary manner while still slightly improving and elevating the look.
I wouldn’t combine proper photo and video coverage
For conference photography to be of high quality, I also don’t think it’s a particularly good idea to merge it with video coverage. You need one person doing photographs and another person filming video, otherwise at some point you’re going to sacrifice the quality of both services.
I have actually filmed video and taken photographs on the same business job once, but it wasn’t a conference. It was a business portrait shoot for Cisco’s office in Berlin, where I could separately photograph people as portraits, environmental portraits and group portraits, and then dedicate around two hours to filming them around the office. It was possible because I could separate the two things.
Now imagine doing the same thing during a conference. If it’s a very relaxed smaller conference where you photograph one speaker for ten minutes and then have another 40 minutes before the next one comes onto the stage, then sure, you could probably film a few clips between sessions. But many conferences have parallel sessions, questions from the audience, people moving between rooms and quite a lot happening in the meantime, so if you try to cover both properly, you’re going to miss something.
So if both photography and proper video coverage are important, use two people.
Bring a laptop
This is maybe more of a side note, but it’s also a good idea to bring a laptop, first of all because it gives you the possibility to back up the photographs during the day and, if the internet is good enough, upload them to your drive or somewhere else as another copy.
Sometimes I also tether or transfer photographs to the laptop over Wi-Fi while I photograph, and sometimes the client can use a few photographs immediately. If I’m in the middle of a longer presentation and I know I have already covered everything I need from that speaker, I can take five minutes, select several photographs, make small edits and send them to the client.
It can be very useful for their social media or communications while the conference is still happening, and for me it costs very little time.
Reliability first, creativity second
So even though before writing this I thought there wasn’t much to explain about conference photography, there is actually quite a lot happening at the same time. A large part of it is simply reliability: knowing that you covered the important people and moments, having backups, choosing safe shutter speeds, having enough focal lengths and understanding what the client will actually need from the photographs.
Once all of this is covered, there is still plenty of space to create stronger and more interesting images.
I do conference photography in Berlin and also travel for corporate events around Europe. You can see more examples on my conference photography page and in
several complete conference galleries on my website.
How to Photograph a Corporate Conference: Common Questions
What should a photographer capture at a corporate conference?
The priority is to cover what matters to the client: speakers, audience reactions and questions, the venue and overall atmosphere, branding, networking, handshakes and other important interactions. Group photographs are often part of the brief as well, so I bring both a telephoto lens for speakers and audience members and a wider lens for group shots and the room.
How do you prepare for photographing a corporate conference?
I review the agenda, identify the key moments and estimate how much time I need before the event starts. I also look for suitable breaks to back up photographs and change batteries or memory cards. I make a quick equipment list, but I often bring most of the equipment I can transport—sometimes a full suitcase—so I know I have what I need. Large tripods are usually unnecessary for this kind of coverage.
How quickly can conference photos be delivered?
I normally deliver a polished gallery within 24–48 hours. I back up the photographs immediately after the event and may prepare a first selection that evening. The main editing is usually done the following day, and I finish by the evening.
How many photos do you usually deliver after a corporate conference?
It depends on the programme and coverage, but a full-day corporate conference usually produces around 250–350 finished photographs. Most of the time, the final gallery is closer to 350 images.
Can you photograph conferences with several rooms or parallel sessions?
Yes. If the sessions are long enough, you can move between three or four rooms and cover them one by one. If specific speakers must be covered in several rooms at the same time, I recommend a second photographer to my clients for those parts of the programme.